There is a specific sound that heralds a successful dinner: the rhythmic, glass-like crackle of a knife blade skating across perfectly rendered chicken skin. We have all chased that "shatteringly crisp" texture found in high-end bistros, yet many home cooks find themselves staring at a pan of flabby, rubbery, or unevenly scorched skin. Achieving a perfectly golden, pan-roasted chicken isn't a matter of luck; it is a masterclass in moisture management and thermal physics.
To achieve that elusive golden crust, you must treat the preparation as a two-part engineering problem. First, the meat must be patted completely dry with paper towels—ideally after resting at room temperature for 30 minutes—to reduce surface moisture by up to 40%. Second, you must leverage the thermal mass of a heavy skillet, such as cast iron, preheated at 450°F for 15 minutes. This ensures a 25% increase in heat retention, providing the steady energy required to render the fat without steaming the meat. The secret lies in the "natural release"—searing the chicken skin-side down for 4 to 5 minutes in a high-smoke-point oil until it turns deep amber and lifts effortlessly from the pan.

The Three Pillars of Crispy Chicken Skin
Before we reach for the tongs, we must understand the "why" behind the technique. Pan-roasting is superior to simple oven-roasting because it allows for direct conduction—the most efficient form of heat transfer.
- Moisture is the Enemy: Any water on the surface of the chicken must evaporate before the Maillard reaction (browning) can begin. If the skin is wet, it spends its time boiling rather than searing, leading to a gray, rubbery texture.
- Fat Rendering: Chicken skin contains a significant layer of subcutaneous fat. To get it crispy, that fat must melt (render) and fry the skin from the inside out. This requires medium-high, consistent heat.
- Heat Retention: Thin pans lose their temperature the moment cold meat hits the surface. A heavy-bottomed skillet acts as a battery, storing thermal energy so the temperature doesn't plummet, ensuring an even, golden-brown finish across the entire surface.
Phase 1: Preparation—The Foundation of Gold
The road to a perfect sear starts hours before the stove is even turned on. Most home cooks pull chicken directly from the refrigerator and drop it into a pan—this is the primary cause of uneven cooking.
The 30-Minute Rule Allowing your chicken to sit at room temperature for 30 minutes is non-negotiable. Cold meat shocks the pan, causing the temperature to drop and the proteins to contract violently, which can squeeze out juices and create a pool of liquid that steams the skin. Bringing the meat closer to ambient temperature ensures a more uniform heat exchange.
Thorough Drying Take a handful of paper towels and aggressively pat the chicken dry. You want the skin to feel like parchment paper. Statistics show that this step, combined with the room-temperature rest, can reduce surface moisture by up to 40%. For those seeking a professional edge, the "Air-Dry Secret" is a game-changer: place the chicken on a wire rack over a baking sheet and leave it uncovered in the refrigerator for 4 to 12 hours. The cold, dry air of the fridge acts as a humidor in reverse, dehydrating the skin to a translucent state.
Pro Tip: The Athena Calderone Method Culinary influencer Athena Calderone often suggests using a dedicated, clean kitchen cloth instead of paper towels for the final "buff." The cloth fibers are more absorbent and can reach into the crevices of the skin more effectively than paper, ensuring a truly bone-dry starting point.
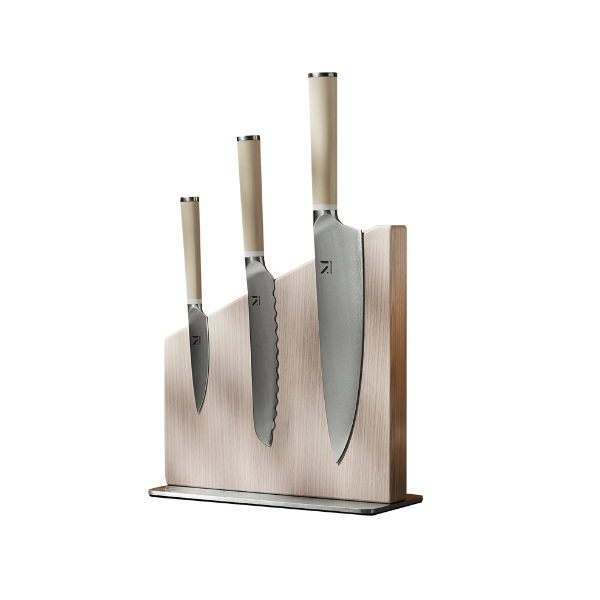
Phase 2: Essential Equipment for Heat Mastery
Your choice of hardware determines the ceiling of your success. While a non-stick pan is fine for eggs, it is the enemy of a professional sear.
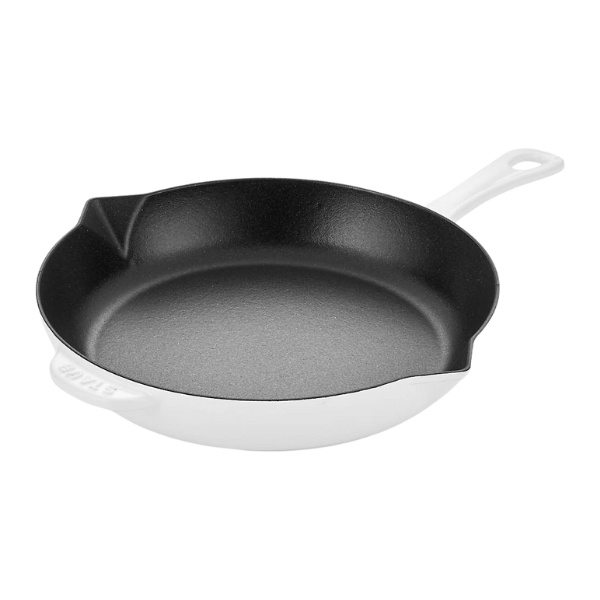
The Cast Iron Advantage A cast-iron skillet is the gold standard for pan-roasting. Its high emissivity and mass mean it radiates heat intensely. Preheating your cast iron in a 450°F oven for 15 minutes before moving it to the stovetop increases heat retention by 25% compared to standard stovetop preheating. This creates an immediate "crust-lock" the moment the chicken touches the metal.
Stainless Steel (All-Clad) If you prefer stainless steel, ensure it is high-quality tri-ply or five-ply (like the All-Clad D3 or D5 series). These pans offer better temperature control and responsiveness than cast iron, though they require a more precise "natural release" technique to prevent the skin from tearing.
Oil Selection Do not use extra virgin olive oil or butter for the initial sear; their smoke points are too low and they will turn bitter. Instead, opt for oils with high smoke points:
- Grapeseed Oil: Neutral flavor, very high smoke point.
- Avocado Oil: The highest smoke point (520°F), though more expensive.
- Ghee (Clarified Butter): Provides the flavor of butter with the heat resistance of oil.
Phase 3: The Searing Technique—A Step-by-Step Guide
Now we move to the stove. The goal here is to develop the color and texture on the skin side before finishing the internal cook in the oven.
- The Hot Start: Place your preheated skillet over medium-high heat. Add 1-2 tablespoons of oil. Look for the "ripple effect"—the oil should shimmer and move like water, almost reaching the point of smoking.
- The Drop: Lay the chicken into the pan away from you (to avoid oil splatter), skin-side down. You should hear a vigorous, constant sizzle.
- The Critical Wait: This is where most cooks fail. Do not move the chicken. For the next 4 to 5 minutes, your only job is to watch. Moving the meat prevents the skin from forming a cohesive crust and can cause it to tear.
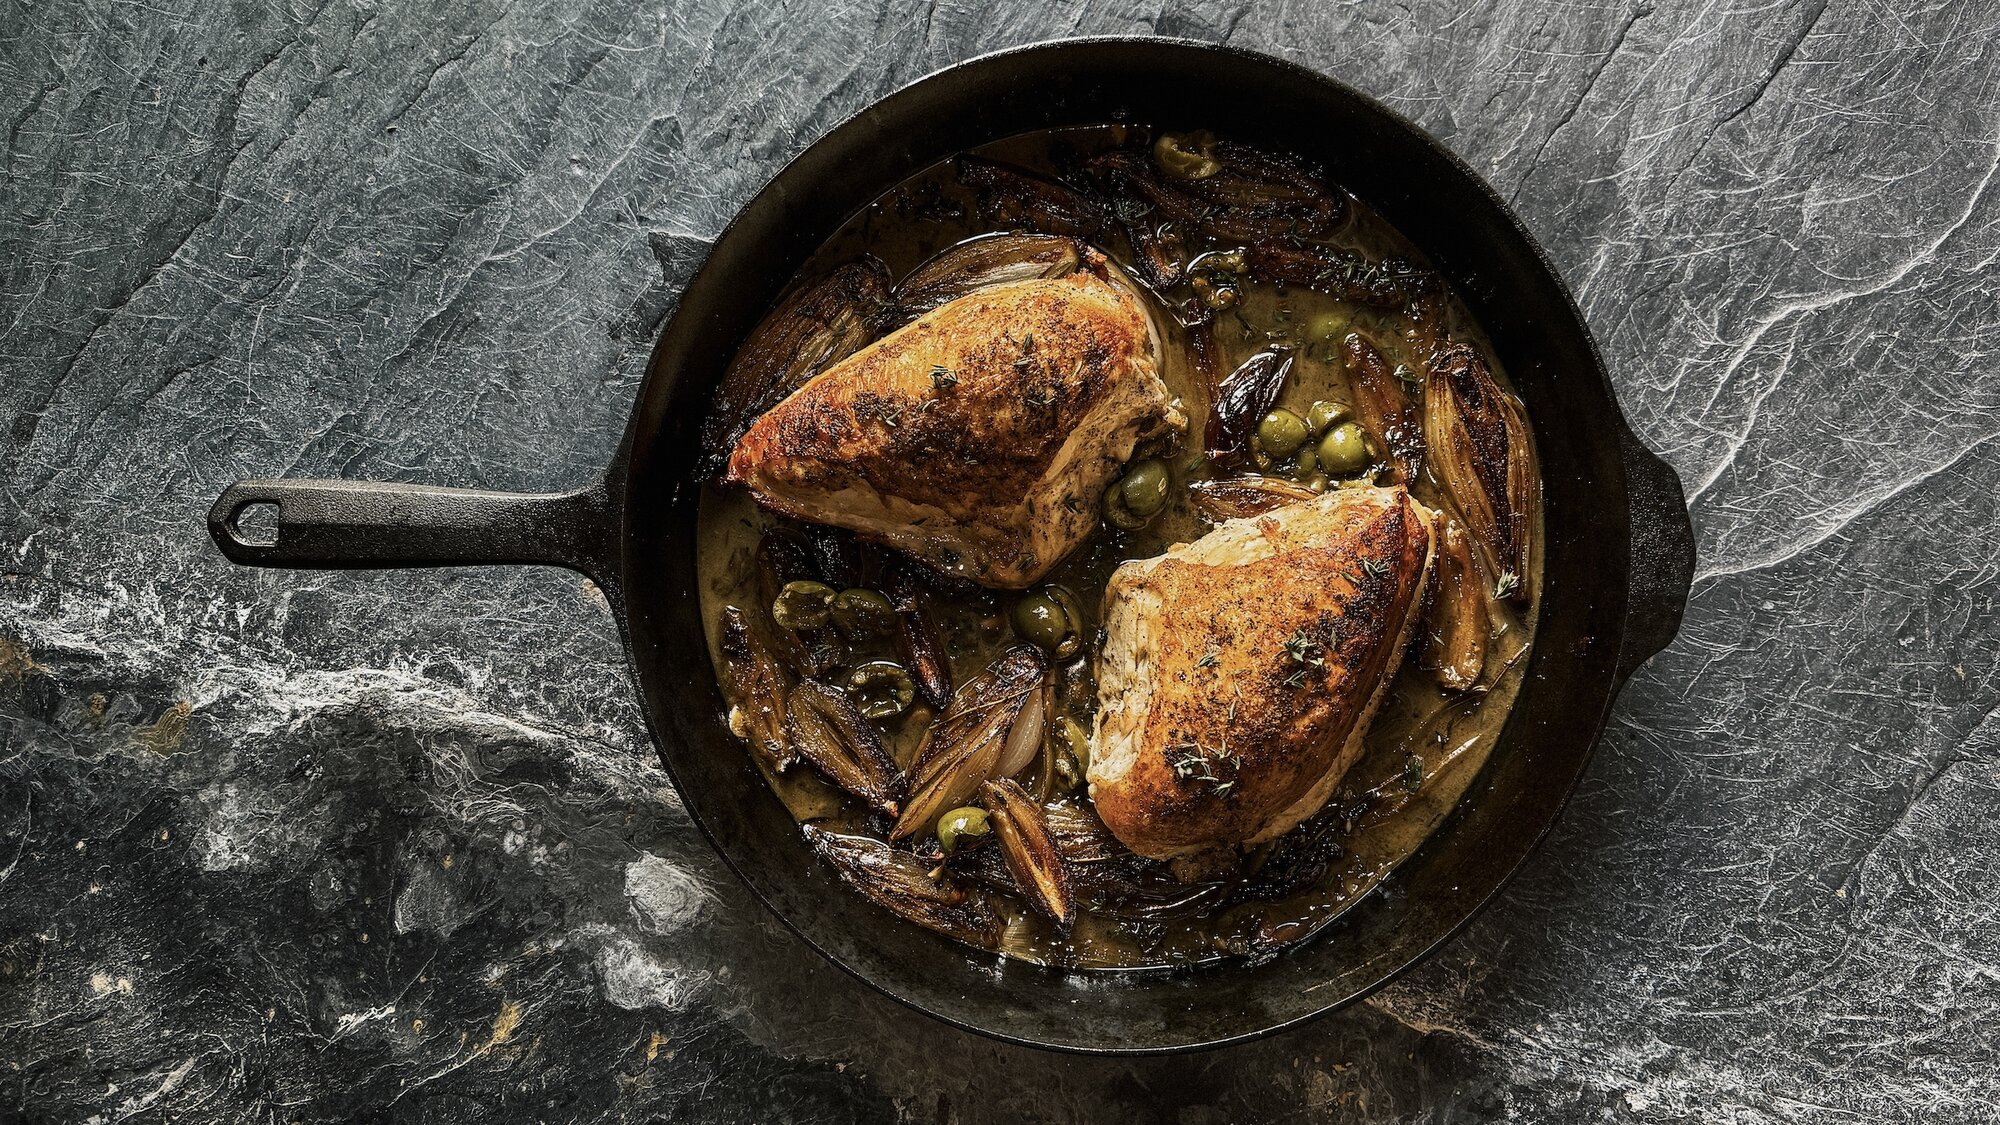
- The 'Natural Release' Indicator: As the proteins cook and the fat renders, the chicken will naturally detach itself from the pan. If you try to lift it and it resists, it isn't ready. When it releases effortlessly, and the underside is a deep, autumnal gold, you have achieved the perfect sear.
Phase 4: Finishing in the Oven
Once the skin is perfected, we must cook the meat through without drying it out. The ambient heat of the oven is much gentler for this phase than the direct heat of the burner.
Flip the chicken so it is skin-side up. This is vital: keeping the skin exposed to the dry air of the oven preserves the crunch you just worked so hard to create. Transfer the entire skillet into the 450°F oven.
The cooking time will vary depending on the cut (thighs vs. breasts), but the target remains the same. Use an instant-read thermometer to pull the chicken when it hits 160°F. Carryover cooking will bring it to the FDA-recommended 165°F while it rests.
The Deglaze (Optional) While the chicken rests on a cutting board, you can build a pan sauce in the same skillet. However, be careful: never pour liquid over the skin. Keep your sauce in the bottom of the pan and place the chicken back in only if you are serving it immediately, ensuring the liquid does not touch the golden crust.
Troubleshooting: Why Isn't My Chicken Skin Crispy?
If you followed the steps but still ended up with a sub-par result, consult this table to identify the breakdown in your process:
| Issue | Likely Cause | Solution |
|---|---|---|
| Soggy/Pale Skin | Crowded Pan | Leave at least 1 inch of space between pieces to prevent steaming. |
| Skin Sticks/Tears | Rushed the Flip | Wait for the "natural release." If it sticks, it's not done browning. |
| Burnt Skin/Raw Meat | Heat Too High | Lower the burner slightly; ensure the skillet was preheated evenly in the oven. |
| Greasy Texture | Oil Not Hot Enough | Ensure the oil "ripples" before adding the chicken. |
Even the most seasoned editors at Home Appliances & Kitchen run into these issues occasionally. The key is maintaining the "Dry, Hot, Still" mantra: Dry the skin, use a Hot pan, and keep the meat Still until it’s ready to move.
FAQ
Q: Can I achieve this with a non-stick pan? A: It is significantly harder. Non-stick coatings are designed to repel, which prevents the "fond" (the brown bits) from forming and makes it difficult to get a truly hard sear. If you must use non-stick, ensure you dry the chicken extra thoroughly and use slightly higher heat, but a stainless or cast-iron skillet is always the better tool for this job.
Q: Should I use parchment paper in the pan? A: No. While some "hacks" suggest this, it creates a barrier between the skin and the heat source, reducing the efficiency of the rendering process. Trust your equipment and your oil.
Q: How do I store leftovers without losing the crunch? A: Unfortunately, refrigeration introduces moisture. To revive the skin the next day, avoid the microwave. Instead, place the chicken in a toaster oven or air fryer at 350°F for 5 minutes. This will re-render the fat and restore most of the original crispiness.
The difference between a "good" dinner and a "memorable" one often comes down to these technical nuances. By focusing on the science of moisture and the mechanics of your cookware, you turn a simple chicken thigh into a culinary event.
Ready to upgrade your kitchen game? Explore our top-rated cast iron and stainless steel recommendations to find the perfect partner for your next roast.