If you have been scrolling through interior design feeds lately, you have likely noticed a recurring theme: the return of texture. In 2025, we are seeing a massive shift away from flat, "millennial gray" walls toward spaces that feel layered and lived-in. One of the most effective ways to achieve this without a full-scale renovation is through beadboard. Whether you are aiming for a coastal cottage vibe, a moody Victorian study, or a clean Shaker entryway, beadboard is the ultimate "weekend warrior" project that delivers a massive return on investment. In fact, based on 2025 interior design trends, a well-executed DIY beadboard installation can increase a room's perceived value by up to 15% compared to plain drywall.
To install beadboard like a pro, you will need to measure and cut panels to size, apply construction adhesive or use a nail gun to secure them to wall studs, and finish with trim and wood filler for a seamless look. It is a process that rewards patience and precision, but don't let the power tools intimidate you. I have guided thousands of readers through their first "scary" DIYs, and I can tell you that if you can use a level and a measuring tape, you can master this.
Step 1: Planning and Material Selection
Before you pick up a saw, you need to decide on the "where" and the "what." Beadboard isn't just one-size-fits-all. The material you choose depends entirely on the environment of the room.
- MDF (Medium Density Fiberboard): This is the go-to for most living areas and bedrooms. It is cost-effective, perfectly smooth, and comes pre-primed. However, it is susceptible to water damage, so keep it out of high-moisture zones.
- Vinyl (PVC): If you are tackling a bathroom or a laundry room, vinyl is your best friend. It’s moisture-resistant and won’t warp or rot when things get steamy.
- Real Wood (Pine or Cedar): Choose this if you want the natural grain to show through a stain. It’s the most traditional option but requires more maintenance and a higher budget.
You also need to decide on the height. The classic wainscoting height is typically 32 to 36 inches from the floor, which aligns roughly with the height of a chair rail. However, for a more modern, dramatic look, many designers are opting for two-thirds height (around 48-60 inches) or even full-floor-to-ceiling installations.
Step 2: Gathering Essential Tools and Materials
The secret to a professional finish isn't just skill—it’s having the right kit. The essential tools for DIY beadboard installation include a nail gun or drill, circular saw or jigsaw, level, stud finder, construction adhesive, and finishing supplies like spackle and primer.
Clara’s Pro Tip: If you are still using a hammer and finishing nails for large-scale paneling, it’s time for an upgrade. Using a pneumatic nail gun instead of manual hammering reduces beadboard installation time by approximately 45% while ensuring a more secure and flush attachment to the wall surface.
The Shopping List
- Beadboard panels (4x8 sheets or individual planks)
- Liquid Nails or similar construction adhesive
- Baseboard and Cap molding (chair rail)
- DAP DryDex Spackling Compound
- 100-grit and 220-grit sandpaper
- High-quality primer and semi-gloss paint
Step 3: Wall Preparation and Layout
Never rush the prep work. Start by removing any existing baseboards using a pry bar. If you plan on reusing them, be gentle! Use a stud finder to locate the vertical wooden supports behind your drywall and mark them clearly with a pencil above the line where your beadboard will end. You’ll need these marks later to ensure your nails hit something solid.
Next, use a 4-foot level to snap a chalk line or draw a level pencil line around the room at your desired height. Do not assume your floors are level—they almost never are, especially in older homes. If you follow the floor line, your panels will look "crooked" once they hit the ceiling or windows. Always follow the level line.
Step 4: Measuring and Precision Cutting
Measuring for beadboard is a "measure twice, cut once" situation. If you are using large 4x8 foot sheets, you will likely need to rip them down to your desired height using a circular saw. To get a perfectly straight edge, use a sacrificial piece of wood as a guide fence.
The trickiest part is cutting around electrical outlets. Here is how I handle it:
- Rub a little bit of lipstick or a dry-erase marker on the edges of the outlet box.
- Position your beadboard panel exactly where it will be installed and press it against the outlet.
- The ink/lipstick will transfer to the back of the board, showing you exactly where to cut.
- Use a jigsaw to cut out the rectangle, staying just slightly inside the marks to ensure the outlet cover will hide the edges later.
Step 5: Adhering and Securing Panels
Now for the satisfying part: watching the wall transform. To install beadboard properly, apply a "S" pattern of construction adhesive to the back of the panel, avoiding the very edges to prevent squeeze-out.
Press the panel firmly against the wall, aligning the top edge with your level line. If you are using tongue-and-groove planks, make sure the tongue is seated snugly into the groove of the previous piece. Once positioned, use your pneumatic nail gun to drive 2-inch finishing nails into the studs you marked earlier. Aim for a nail every 6 to 8 inches along the stud line.
For inside corners, you can usually butt the panels against each other. For outside corners, you may need to "miter" the edges at a 45-degree angle for a clean, professional look that doesn't show the raw core of the MDF.
Step 6: Installing Trim and Custom Flourishes
Your panels are up, but they probably look a bit unfinished. This is where trim comes in. Install your baseboard at the bottom and a cap rail (or chair rail) at the top. The cap rail hides the top edge of the beadboard and provides a finished "ledge."
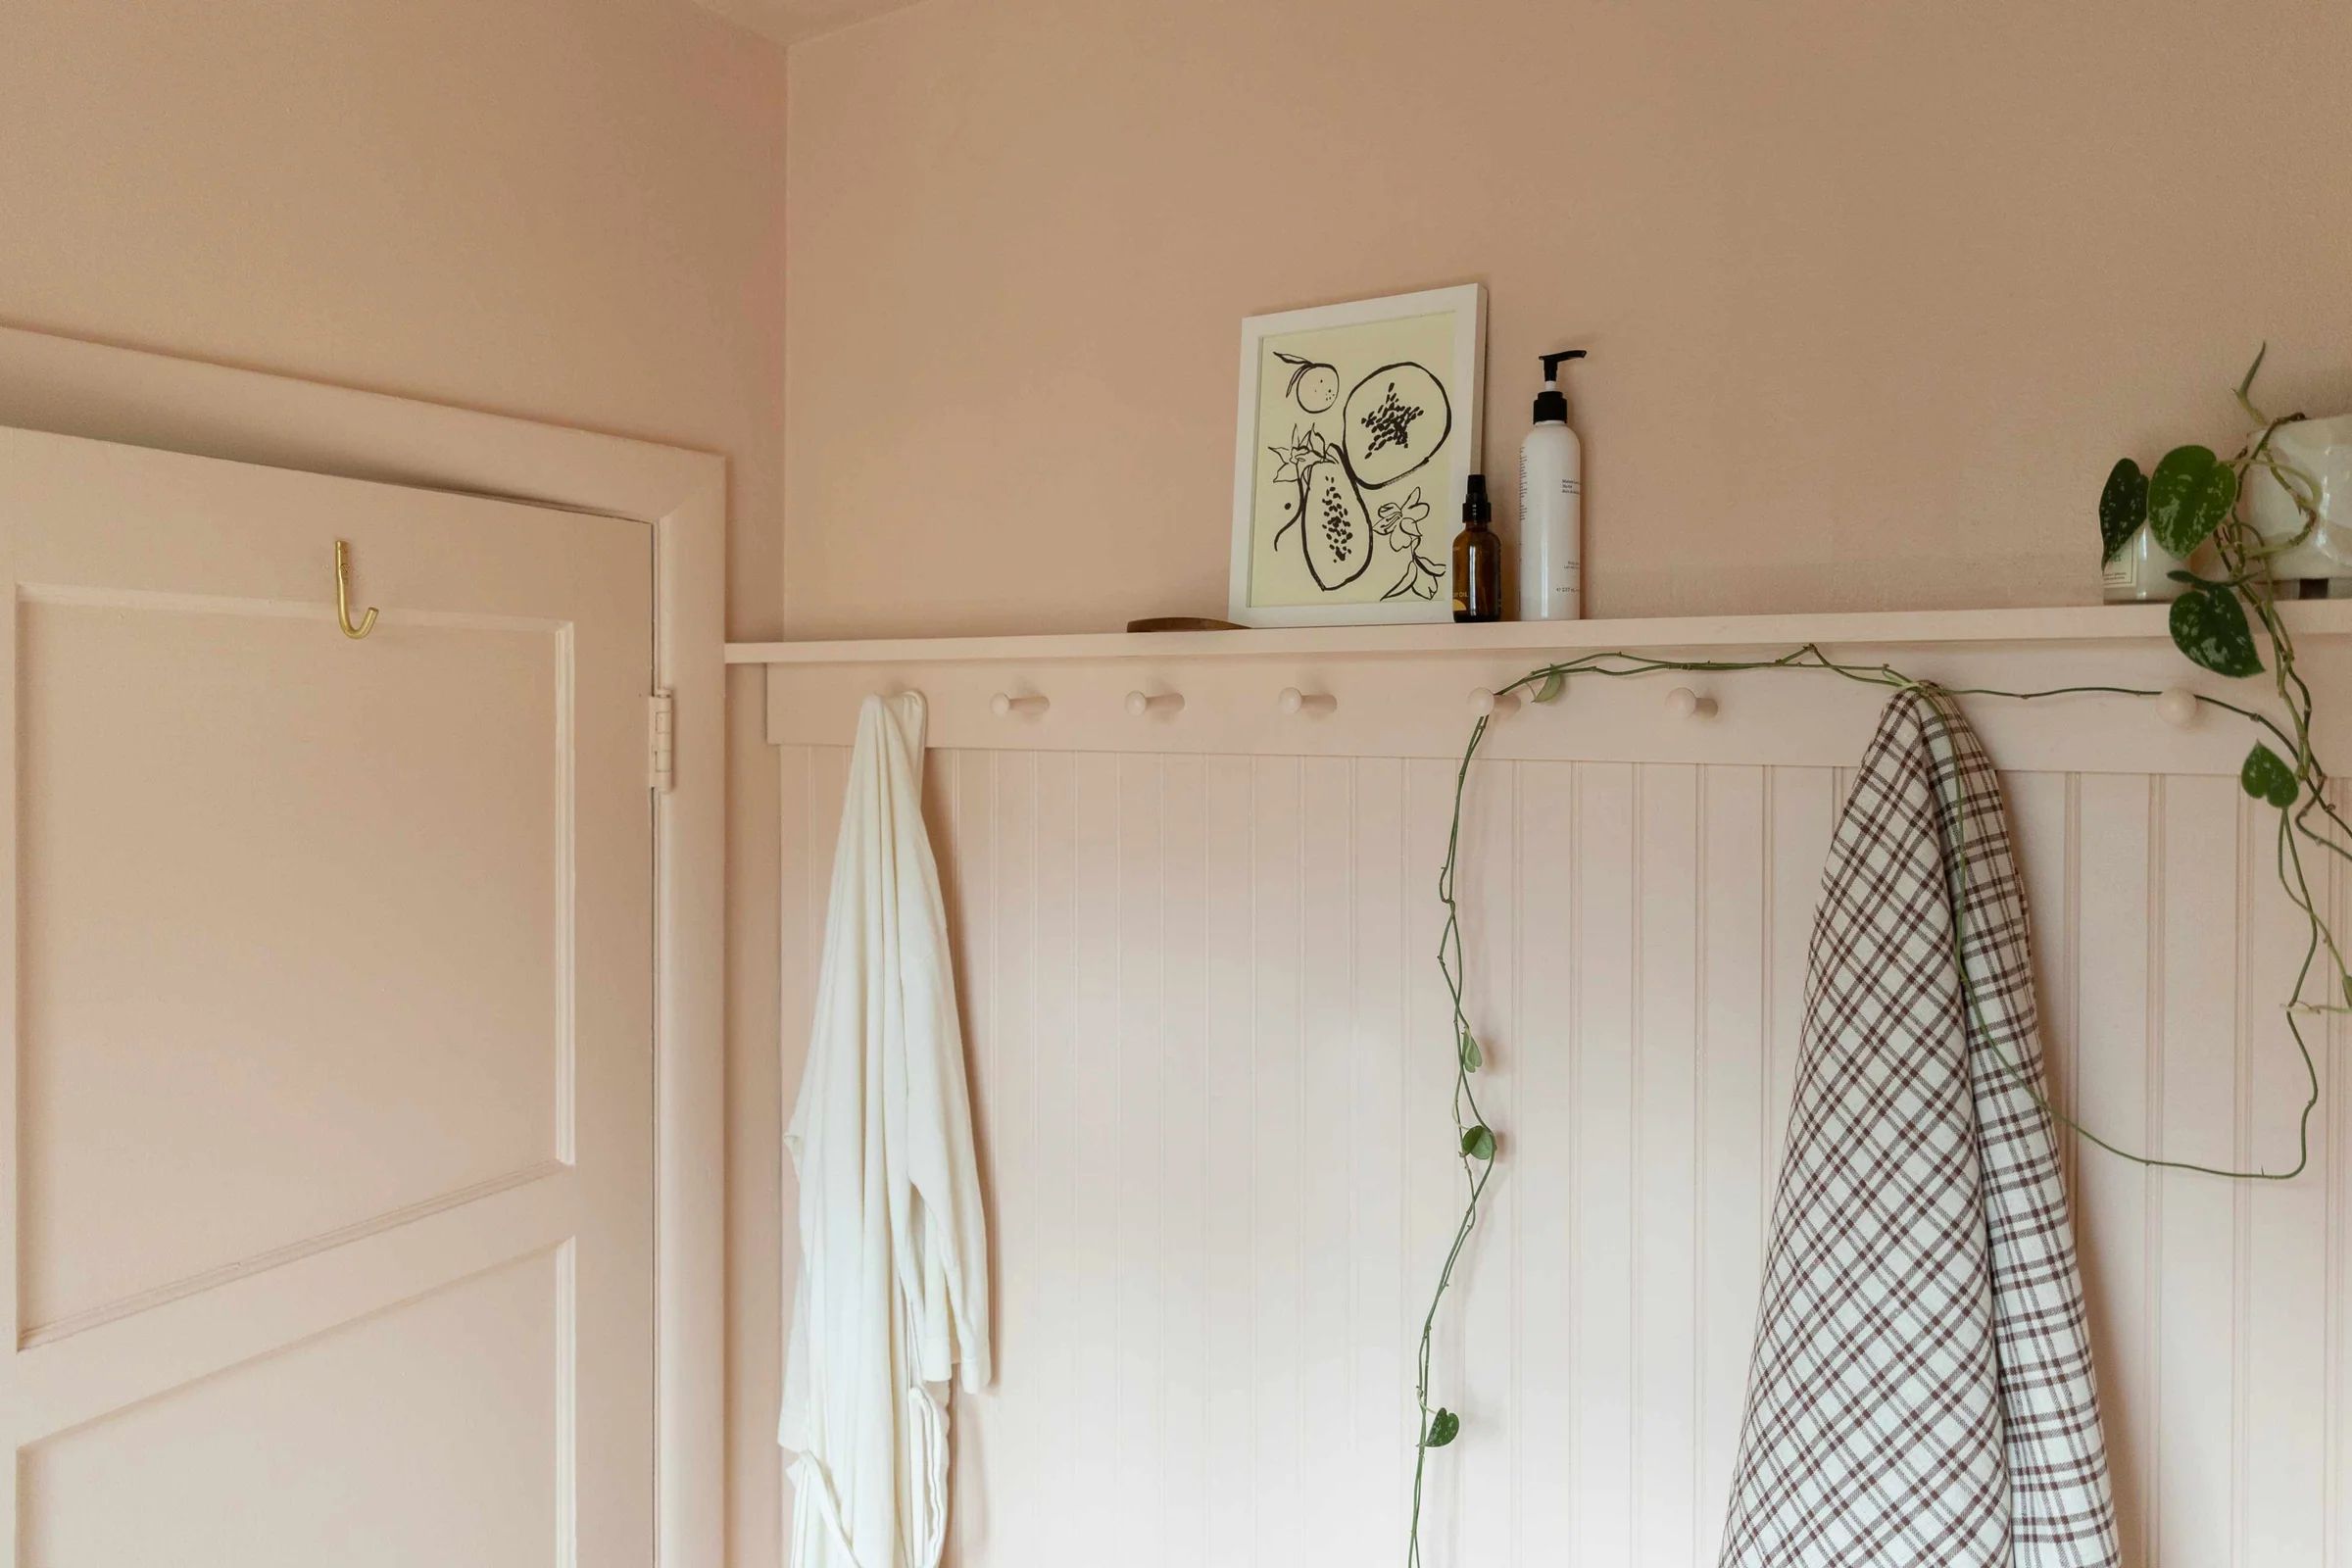
If you want to add some 2025 "Shaker-style" character, consider adding a Shaker peg rail. You can buy pre-made peg strips or drill holes into a 1x4 board and glue in wooden pegs yourself. This is an incredible addition to entryways or mudrooms for hanging hats, bags, and dried botanicals. Secure the trim pieces with finishing nails, ensuring everything is checked with a level as you go.
Step 7: The Professional Finish
The difference between a "DIY-looking" job and a "pro-contractor" job is in the finishing. For a professional finish on beadboard walls, use DAP DryDex Spackling Compound to fill gaps between panels and nail holes, sand the surface smooth before applying a high-quality primer and paint.
- Fill: Use your finger to press spackle into every nail hole. For the vertical seams between panels, use a thin bead of paintable caulk.
- Sand: Once the spackle is dry (DryDex turns from pink to white when it's ready!), sand it flush with 220-grit sandpaper.
- Prime: Even if your panels are pre-primed, I always recommend a fresh coat of a high-hide primer like KILZ. This ensures the paint adheres perfectly to the caulk and spackle.
- Paint: Use a brush to "cut in" the grooves first, then follow up with a small microfiber roller for the flat surfaces. I recommend a semi-gloss or satin finish; it highlights the texture of the "beads" and makes the wall much easier to wipe down in high-traffic areas.
FAQ
Q: Can I install beadboard over existing tile? A: It is possible, but difficult. You cannot nail into tile easily, so you would rely entirely on heavy-duty construction adhesive. However, the best practice is to remove the tile or add a thin layer of plywood (furring strips) over the tile to provide a nailing surface.
Q: How do I handle baseboards if I don't want to remove them? A: You can sit the beadboard directly on top of the existing baseboard, but you will likely need to add a small piece of "base shoe" molding to hide the transition. It usually looks much cleaner to remove the baseboard and reinstall it over the beadboard.
Q: Is beadboard out of style? A: Not at all! While it has roots in traditional Victorian and Farmhouse design, we are seeing it used today in modern "Scandi-maximalist" homes. By painting it a bold, dark color like forest green or navy, you can make this classic element feel incredibly contemporary.
Ready to transform your space? Beadboard is one of those rare projects that is as fun to install as it is beautiful to look at. Take your time with the measurements, don't skimp on the sanding, and you’ll have a wall that looks like it was built by a master craftsman.