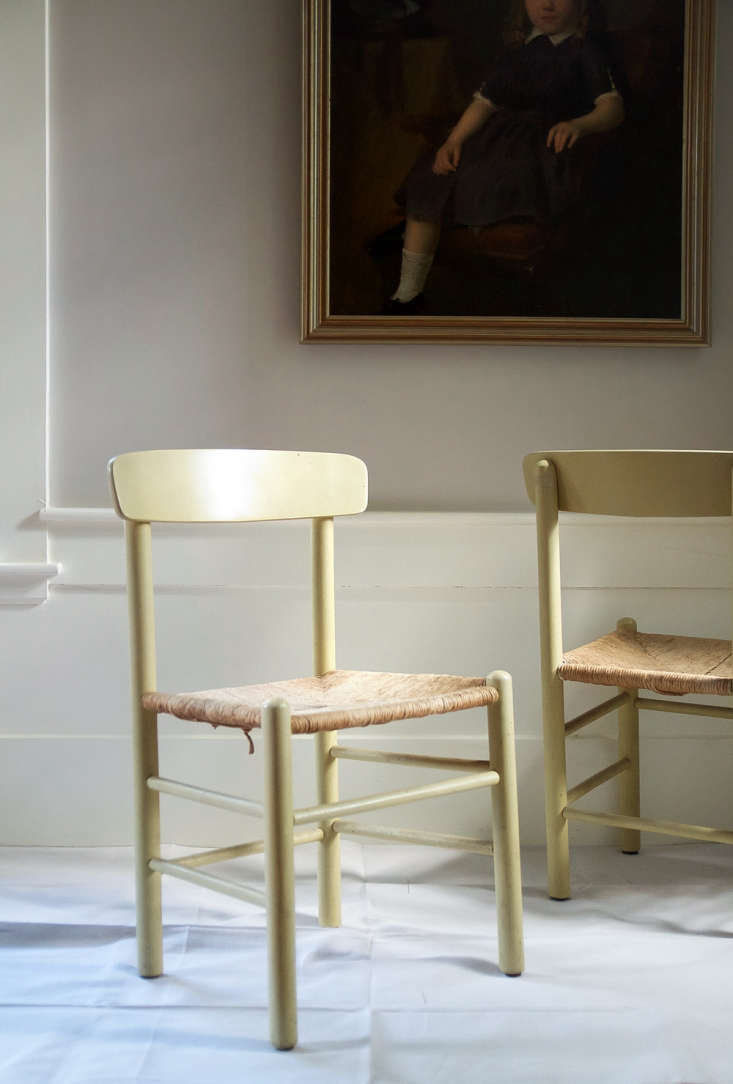
We’ve all been there: you spot a mid-century modern dresser at a thrift store for $30, or perhaps you have a solid oak dining table that’s seen better days but still has "great bones." The vision is immediate—a sleek, factory-smooth finish in a deep navy or a soft mushroom grey. But between that vision and the finished product lies the "prep gap." Many DIY enthusiasts rush to the hardware store, grab a tin of "all-in-one" paint, and start brushing. Six months later, the paint is peeling at the corners, and every brush stroke is visible in the sunlight.
Achieving a professional-grade furniture finish isn't about having a secret talent; it’s about a disciplined methodology. To achieve a flawless paint surface, thorough preparation is essential: start by sanding with medium-grit sandpaper to remove old finish and debris, cleaning meticulously with a tack cloth to remove every speck of dust, and applying a high-quality primer to ensure adhesion. This guide will walk you through the exact steps I use in my own studio to transform tired wood into heirloom-quality pieces.
The Secret to a Professional Surface: Why Prep is Everything
In the world of home improvement, we often say that a paint job is 80% preparation and only 20% application. If you skip the groundwork, you aren't just risking a messy look—you are risking total project failure.
Pro-Tip: The Cost of Skipping Prep Studies on DIY restoration show that 75% of paint failures, such as peeling, bubbling, or "alligatoring," are directly caused by improper surface cleaning and inadequate sanding during the prep phase.
When you apply paint to a surface that hasn't been properly cleaned or scuffed, the paint "sticks" to the dirt or the old, slick varnish rather than the furniture itself. As the wood expands and contracts with humidity, the paint film—which has no real bond—simply cracks and lifts. By investing time in the "boring" parts, you ensure your work stands the test of time. Properly prepped and sealed furniture can last up to 10 years longer than surfaces painted without primer or protective top coats like polycrylic.
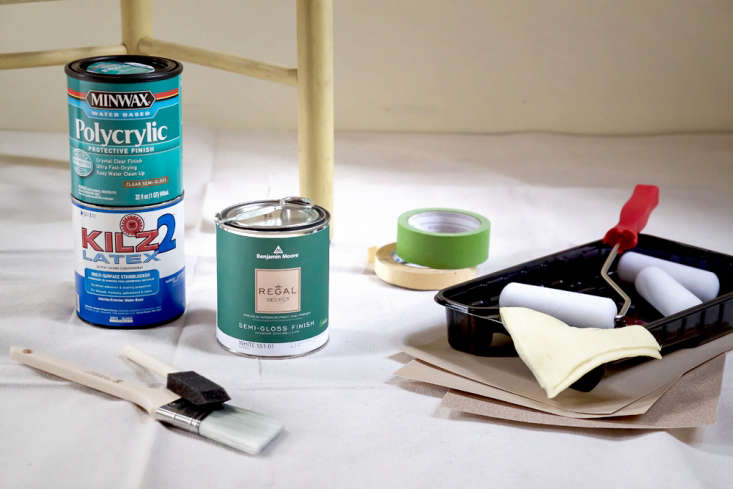
Essential Supplies Checklist
Before you crack a single lid of paint, ensure your "Expert Toolkit" is ready. Having the right supplies prevents mid-project resets.
| Category | Must-Have Items |
|---|---|
| Cleaning | TSP (Trisodium Phosphate) or degreaser, lint-free rags, tack cloth |
| Sanding | Sanding block, 80/120 grit (medium), 220 grit (fine) sandpaper |
| Priming | High-adhesion primer (oil-based or high-quality water-based) |
| Painting | High-quality acrylic or mineral paint, 2-inch angled sash brush |
| Rollers | High-density foam rollers (4-inch size is ideal for furniture) |
| Finishing | Water-based polycrylic or finishing wax |
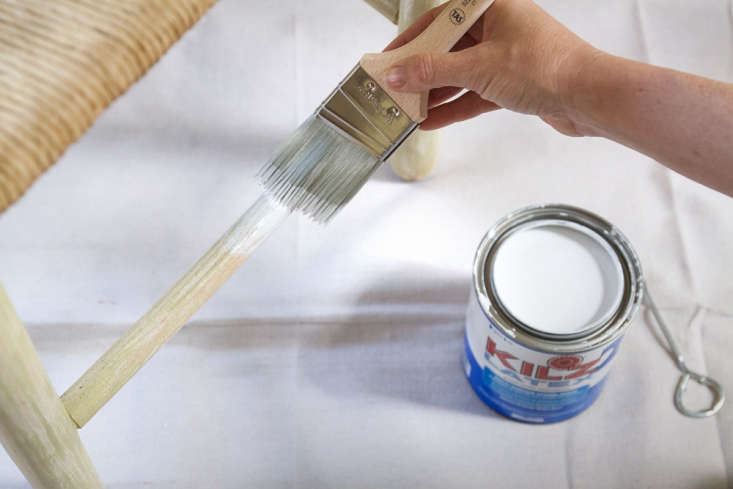
Phase 1: Creating the Pristine Canvas (Cleaning & Sanding)
The first step is a "Deep Clean." Furniture accumulates years of skin oils, furniture polish (which often contains silicone, a paint's worst enemy), and household dust. I recommend using a solution of TSP and warm water. Scrub every inch, then wipe it down with clean water to ensure no residue remains.
Once dry, it’s time to "scuff sand." You don’t necessarily need to strip the wood down to the bare grain unless the original finish is failing. Your goal is to remove the "sheen."
- Medium-Grit (80-120): Use this to break the surface of the old varnish. You’ll know you’re done when the surface looks dull and "frosty."
- Fine-Grit (180-220): After the initial scuff, go over the surface once more to ensure it feels smooth to the touch.
- The Tack Cloth Ritual: This is the most underrated step. After vacuuming the dust, use a tack cloth—a sticky, resin-impregnated cheesecloth—to wipe the surface. It will pick up microscopic dust particles that a regular rag misses. If these stay on the wood, they create "nibs" (small bumps) in your paint.

Phase 2: Priming for Maximum Adhesion
Primer is the bridge between your old surface and your new color. It’s a chemical bonder. Without it, your paint is just sitting on top; with it, the paint becomes part of the furniture.
Choosing the right primer is non-negotiable. If you are painting a dark wood like mahogany or cherry, or a wood with many knots like pine, you must use an oil-based or shellac-based primer (like Zinsser BIN). These "sealers" prevent tannins from bleeding through your paint and causing yellow or brown stains weeks later.
Primer Selection Guide
| Surface Type | Recommended Primer | Why? |
|---|---|---|
| Bare Drywall/MDF | Water-based Acrylic | Easy cleanup, low odor, fills pores well. |
| Finished Wood / Antiques | Oil-based or Shellac | Blocks wood tannins; sticks to glossy surfaces. |
| Laminate / Metal | High-Adhesion Bonding Primer | Specifically designed for "non-stick" surfaces. |
When applying, remember the "Dry Overnight" rule. Even if the primer feels dry to the touch in an hour, the chemical bond takes time to cure. Giving it 12–24 hours ensures that when you apply your paint, the primer won't re-wet and lift.
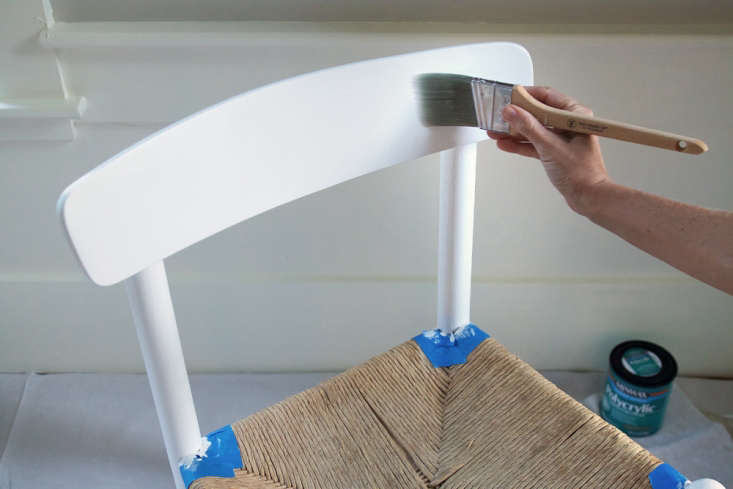
Phase 3: The Application Strategy (Tools & Techniques)
The tool you choose determines the texture of the finished piece. If you want that coveted "factory finish," your selection is vital.
Foam Rollers for Flat Surfaces: For large expanses like table tops, dresser sides, or cabinet doors, a high-density foam roller is your best friend. It applies the paint in a very thin, even layer without the "tugging" that can happen with a brush. It eliminates brush marks entirely, leaving a slightly stippled but very smooth texture.
High-Quality Brushes for Detail: Use a high-quality synthetic brush (like a Purdy or Wooster) for the "nooks and crannies"—the legs, the bevels, and the joints. A cheap brush will shed bristles into your wet paint, which is a nightmare to fix.
The Spray Alternative: If you are tackling a piece with very intricate carvings, consider a High Volume Low Pressure (HVLP) sprayer. While there is a learning curve, it provides the most uniform texture possible. However, for most home DIYers, the roller/brush combo is more than sufficient.
Phase 4: Achieving the Flawless Coat
Here is the "Zen" of furniture painting. The biggest mistake beginners make is trying to get full coverage in one or two coats. This leads to drips, "roping" (thick ridges of paint), and a soft, gummy finish that takes forever to dry.
The professional secret is the "Thin is In" Rule: Apply 4 to 5 thin coats of paint rather than one thick layer. Thin coats dry faster, harder, and smoother.
The Step-by-Step Flow:
- Apply Coat 1: Don't worry if it looks patchy or "transparent." This is your foundation.
- Dry Overnight: Patience is a tool. Let it dry thoroughly.
- The "In-Between" Sand: This is the game-changer. Once the coat is dry, take a 220-grit (or even 320-grit) sanding sponge and very lightly buff the surface. You aren't trying to remove the paint; you're just knocking down any tiny dust nibs or bubbles.
- Tack Cloth: Wipe again.
- Repeat: Follow this for coats 2, 3, and 4. You will notice the color becoming rich and the surface feeling like glass.
Pro-Tip: Environmental Control Paint is sensitive. For the best finish, aim to paint when the temperature is between 60°F and 77°F with moderate humidity. If it's too hot (above 85°F), the paint dries too fast and leaves "lap marks." If it's too cold (below 40°F), the paint may never properly bond.
Phase 5: Sealing and Longevity
The final step is the armor. A dining table or a coffee table undergoes significant daily stress—spilled water, heat from plates, and scratches from keys.
Polycrylic vs. Wax:
- Polycrylic (Water-based): This is my go-to for most projects. It dries crystal clear and provides a hard, durable shell. Avoid old-fashioned oil-based varnishes or polyurethanes on white or light-colored paint, as they will yellow over time.
- Finishing Wax: Use this if you want a "hand-rubbed" matte look. It feels beautiful to the touch but requires re-application every year or so and isn't as water-resistant as a polycrylic.
Apply your topcoat in two thin layers, just like the paint, with a light sanding in between. This final step is what extends the life of your furniture by up to a decade, protecting your hard work from the elements of daily life.
Troubleshooting: Why Your Paint Job Failed
Even with the best intentions, things can go sideways. Here is how to diagnose and fix common issues:
- Peeling/Blistering: This is almost always a cleaning issue. If you see bubbles, the paint is reacting to oils or wax underneath. You must sand the area back to the wood, clean it with a degreaser, and start over.
- Drips and Runs: We call these "curtains." If you spot them while wet, brush them out immediately. If they are dry, take a razor blade to carefully shave the "hump" down, sand it flat with 220-grit, and re-apply a thin coat of paint.
- Cracking (Crazing): This happens when the top layer dries much faster than the bottom layer (often from painting in direct sun). Sand it smooth and apply thinner coats in a shaded, temperature-controlled environment.
FAQ
Q: Can I use "Chalk Paint" to skip the sanding and priming? A: Chalk paint is marketed as "no prep," but in my experience, a light scuff-sand and a dedicated primer still yield a much more durable result. If you skip prep with chalk paint, you are relying solely on the paint's mechanical grip, which can still fail on slick surfaces like laminate.
Q: How long should I wait before using my furniture? A: There is a difference between "dry" and "cured." Paint might be dry to the touch in 2 hours, but it takes 21 to 30 days to fully "cure" to its maximum hardness. Use the piece gently during the first month—no heavy vases or harsh cleaning chemicals!
Q: What is the best way to clean my brushes? A: For water-based paints, use warm water and a drop of dish soap. For oil-based, you’ll need mineral spirits. I highly recommend a "brush comb" to get the paint out of the center of the bristles, which keeps your brushes soft for years.
Take the First Step
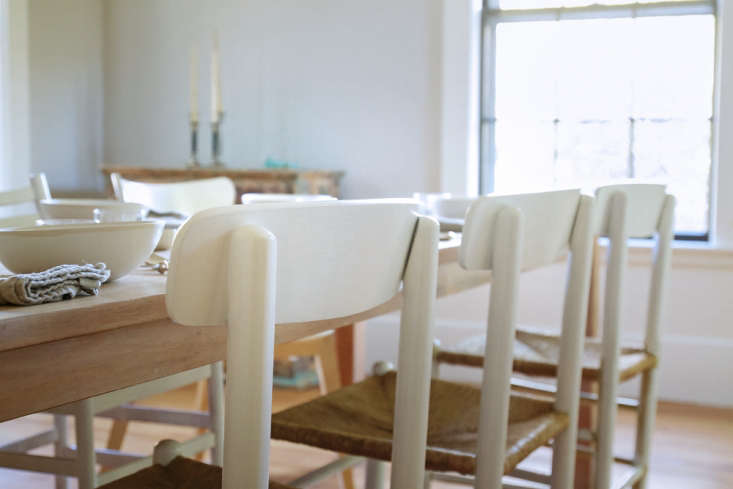
Ready to transform that "diamond in the rough"? Start small—perhaps a side table or a set of shelves—to master the rhythm of sanding, cleaning, and thin-coat application. Once you see that flawless, professional-grade surface under your own hands, you’ll never look at a "thrift store find" the same way again.
Happy DIYing, and remember: the beauty is in the prep.