Walking through a moldering 19th-century row house for the first time is often like opening a dusty book with missing pages. You see the damp walls, the cramped, dark rooms, and the outdated systems, but as a DIYer and restorer, I see the bones. The challenge is always the same: how do you take a "charmless," asbestos-filled relic and turn it into a modern sanctuary without stripping away the history that makes it special?
The key to a successful historic row house redesign lies in a "split-personality" strategy. You must maintain the original street facade and structural proportions religiously to honor the neighborhood's heritage, while simultaneously gutting and upgrading the internal "organs"—HVAC, plumbing, and electrical—using modern, compatible materials. By focusing on open-plan layouts and strategic glass interventions, you can transform these deep, narrow structures into light-filled oases. Recent analysis shows that integrating sustainable features like green roofs and modern heat pumps can reduce annual energy consumption by up to 48% compared to traditional systems, making these old homes surprisingly future-proof.
Understanding the Anatomy of a Row House
Before you pick up a sledgehammer, you need to understand what you’re working with. In the world of urban architecture, terms like "row house," "townhouse," and "brownstone" are often used interchangeably, but they carry distinct historical weight.
A row house is specifically part of a continuous line of similar dwellings sharing side walls. Whether it's the Federal-style homes of L’Enfant’s D.C. plan or the classic European terraced traditions found in cities like Ghent or London, these homes were designed for density. The challenge is their "shotgun" or "deep-plan" nature—long and narrow with windows only at the front and back.
- Row House: Typically a simpler, repetitive design in a uniform row.
- Townhouse: Can be detached or semi-detached, often more ornate.
- Brownstone: A specific type of row house faced with brown Triassic-Jurassic sandstone, common in Brooklyn and Manhattan.
Navigating the Regulatory Landscape: Preservation Standards
If your row house is in a designated historic district, your first "project" isn't demolition—it's paperwork. Organizations like the Historic Preservation Review Board (HPRB) aren't there to stop you; they are there to ensure "compatibility."
Generally, permitted updates include modern kitchen and bathroom remodels (provided they don't alter the exterior footprint), energy-efficiency improvements like heat pumps, and secondary additions that respect the original scale.
Navigating the review process usually takes 1 to 3 months. Administrative reviews are for minor repairs (like repointing brick), while Board reviews are for major structural changes. Pro tip: Always approach the board with a spirit of collaboration. Presenting a plan that uses historically accurate materials for the facade while proposing modern internal systems usually gains favor much faster than trying to "modernize" the street view.
Structural Foundations: Making Space Where None Exists
The biggest complaint about 19th-century row houses is the lack of light and the "choppy" feel of small, dark rooms. To modernize, we have to look at the structure itself.
Basement Excavation and Underpinning
Many old row houses have "crawl space" basements. Excavating these to create a livable lower level is a game-changer for square footage. However, this requires underpinning—extending the foundation deeper. This is high-stakes work, usually costing between $300 and $800 per linear foot. It’s not a DIY job, but the ROI is massive in urban markets.
Creating Open Floor Plans
To achieve that modern "loft-style" feel, you’ll likely need to remove load-bearing partitions. This almost always involves installing steel I-beams to carry the load of the upper floors. While this phase can cost $15,000 to $30,000, it allows for a seamless flow of light from the front windows to the back.
Ways to Increase Natural Light:
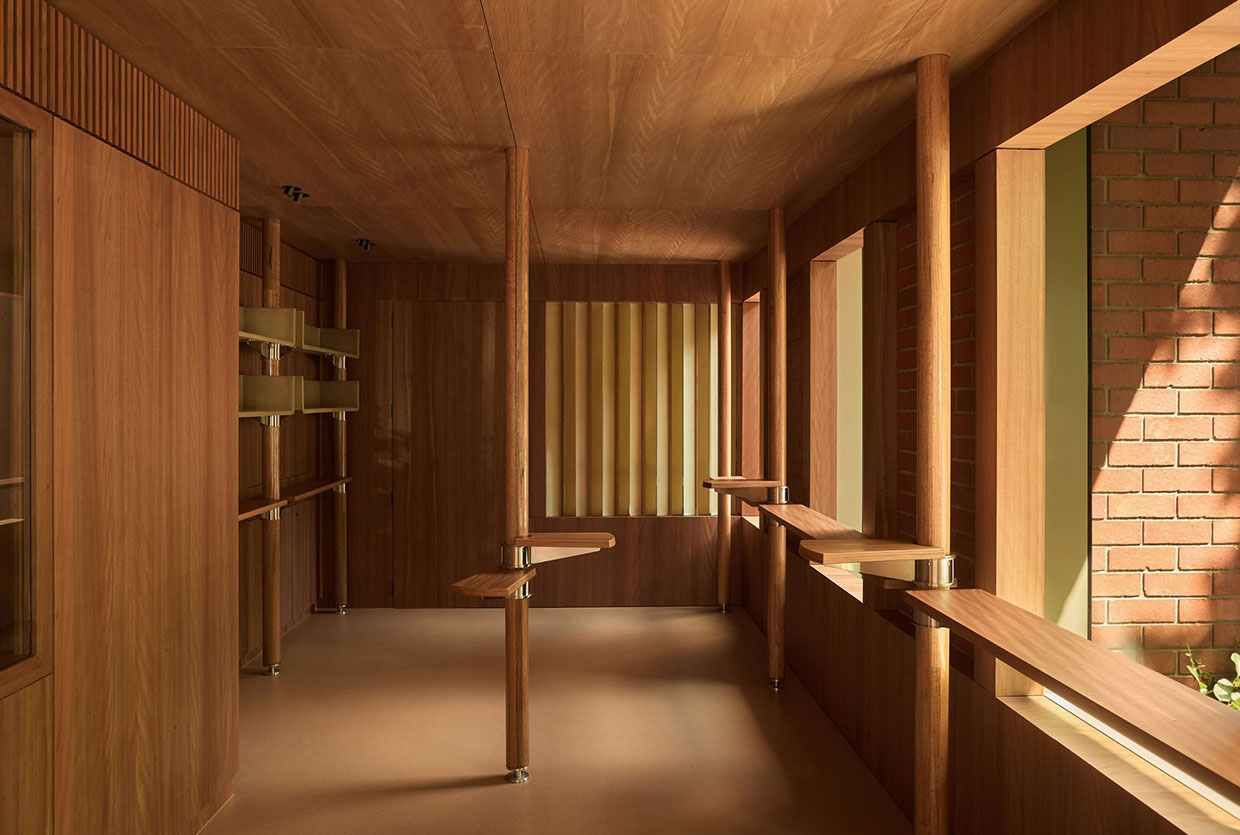
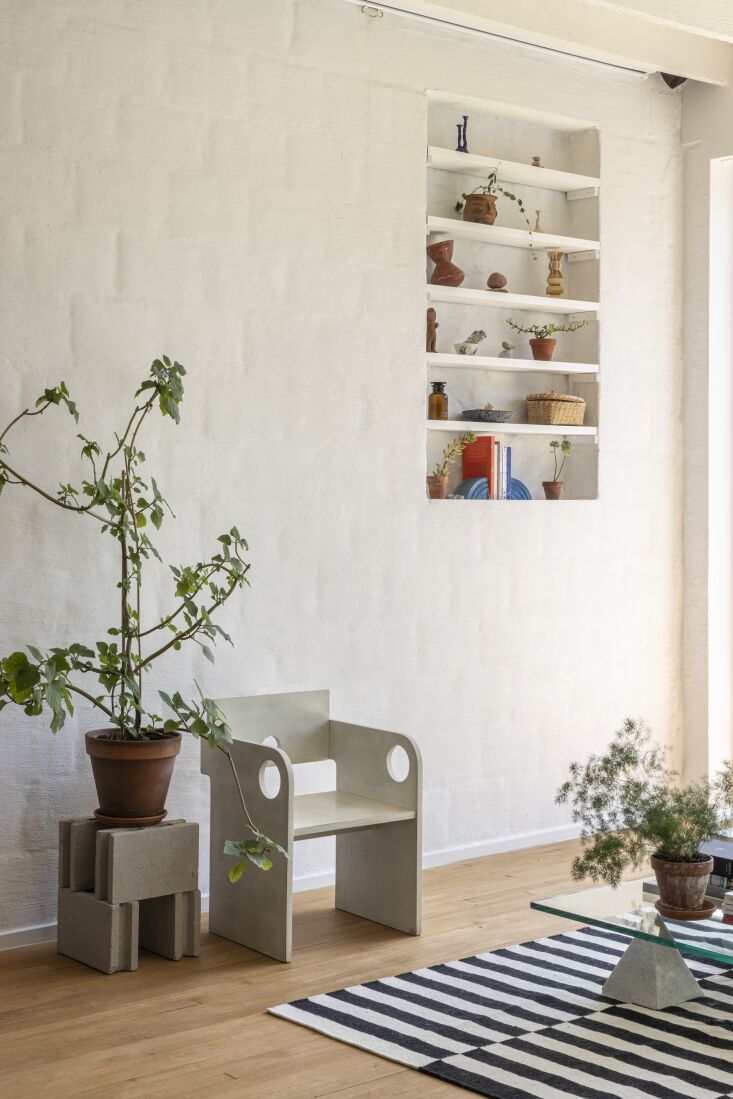
- Birch Plywood Partitions: Instead of full-height drywall, use "floating" partitions that stop 6-12 inches short of the ceiling. This allows light to skip across the ceiling plane.
- Glass-Accessible Attics: Convert a ruined attic into a "lantern" floor with full glass access or skylights.
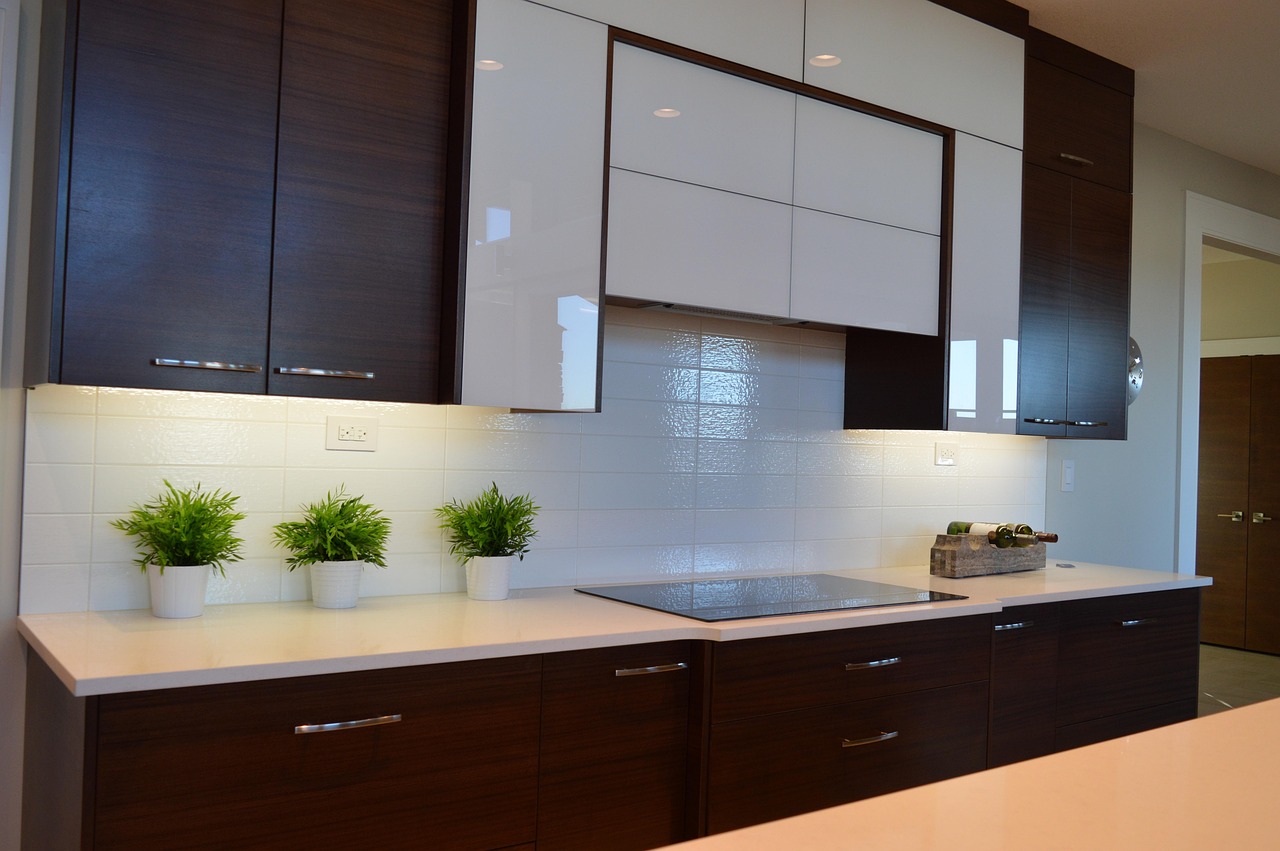
- Mirror Placement: Strategically place large mirrors opposite the few windows you have to bounce light into the center of the floor plan.
Modernizing Building Systems without Sacrificing History
This is where science meets history. You want the comfort of the 21st century without the unsightly bulk of modern mechanicals.
Invisible HVAC: For historic homes with plaster walls you want to save, avoid traditional bulky ductwork. High-velocity systems use small, flexible tubes that can be snaked through walls like electrical wire. Alternatively, ductless mini-splits offer zoned cooling and heating without the need for a basement-to-attic chase.
Sustainable Upgrades: We are seeing a massive shift toward "Green Historic" renovations. Integrating a green roof not only manages stormwater but adds an extra layer of insulation. When combined with air-source heat pumps, you're looking at a home that is significantly cheaper to run. Market trends suggest that homes featuring this blend of original character and high-efficiency systems see a 15-20% higher demand in urban real estate markets.
Smart Home Tech: Avoid cutting into 100-year-old lath and plaster for new switches. Use wireless ecosystems like Lutron Caséta or Leviton Decora Smart. These allow you to add "three-way" switching and dimming control via battery-powered remotes that look exactly like standard switches, mounted anywhere on the wall.

The Critical Importance of Material Authenticity
As a DIY editor, I cannot stress this enough: The "Lime Mortar Rule" is non-negotiable.
Many 19th-century bricks were fired at lower temperatures, making them softer than modern bricks. If you repoint these bricks with modern Portland cement—which is extremely hard and impermeable—the moisture trapped inside the brick will have nowhere to go. When it freezes, the face of your historic brick will "spall" or pop off. Always use a breathable lime-based mortar. It’s softer than the brick and allows moisture to evaporate safely.
Window Restoration vs. Replacement
Before you buy vinyl replacements, stop. A 100-year-old heart-pine window is a miracle of engineering. When properly restored with new weatherstripping and a high-quality storm window, it can actually outperform a new double-pane vinyl window in terms of longevity. Vinyl windows are "disposable" (20-year lifespan); historic wood windows are "repairable" (100+ year lifespan).
The ROI and Budgeting of Historic Restorations
Renovating a historic row house is rarely the "cheapest" route, but it is often the most lucrative in the long run. You are creating a unique product in a market of cookie-cutter condos.
| Renovation Scope | Estimated Cost (Per Sq Ft) | Key Value Add |
|---|---|---|
| Cosmetic Refresh | $100 - $150 | Paint, floor refinishing, new lighting. |
| Mid-Range Gut | $250 - $350 | New K&B, updated electrical, HVAC. |
| Historic Restoration | $400 - $600+ | Structural underpinning, lime repointing, custom millwork. |
While you should anticipate a 20-50% premium over standard remodels, the "character premium" in urban markets is real. Buyers are increasingly looking for that "Industrial Modern" or "Historic Minimalism" aesthetic where original brickwork meets clean, open-plan layouts.
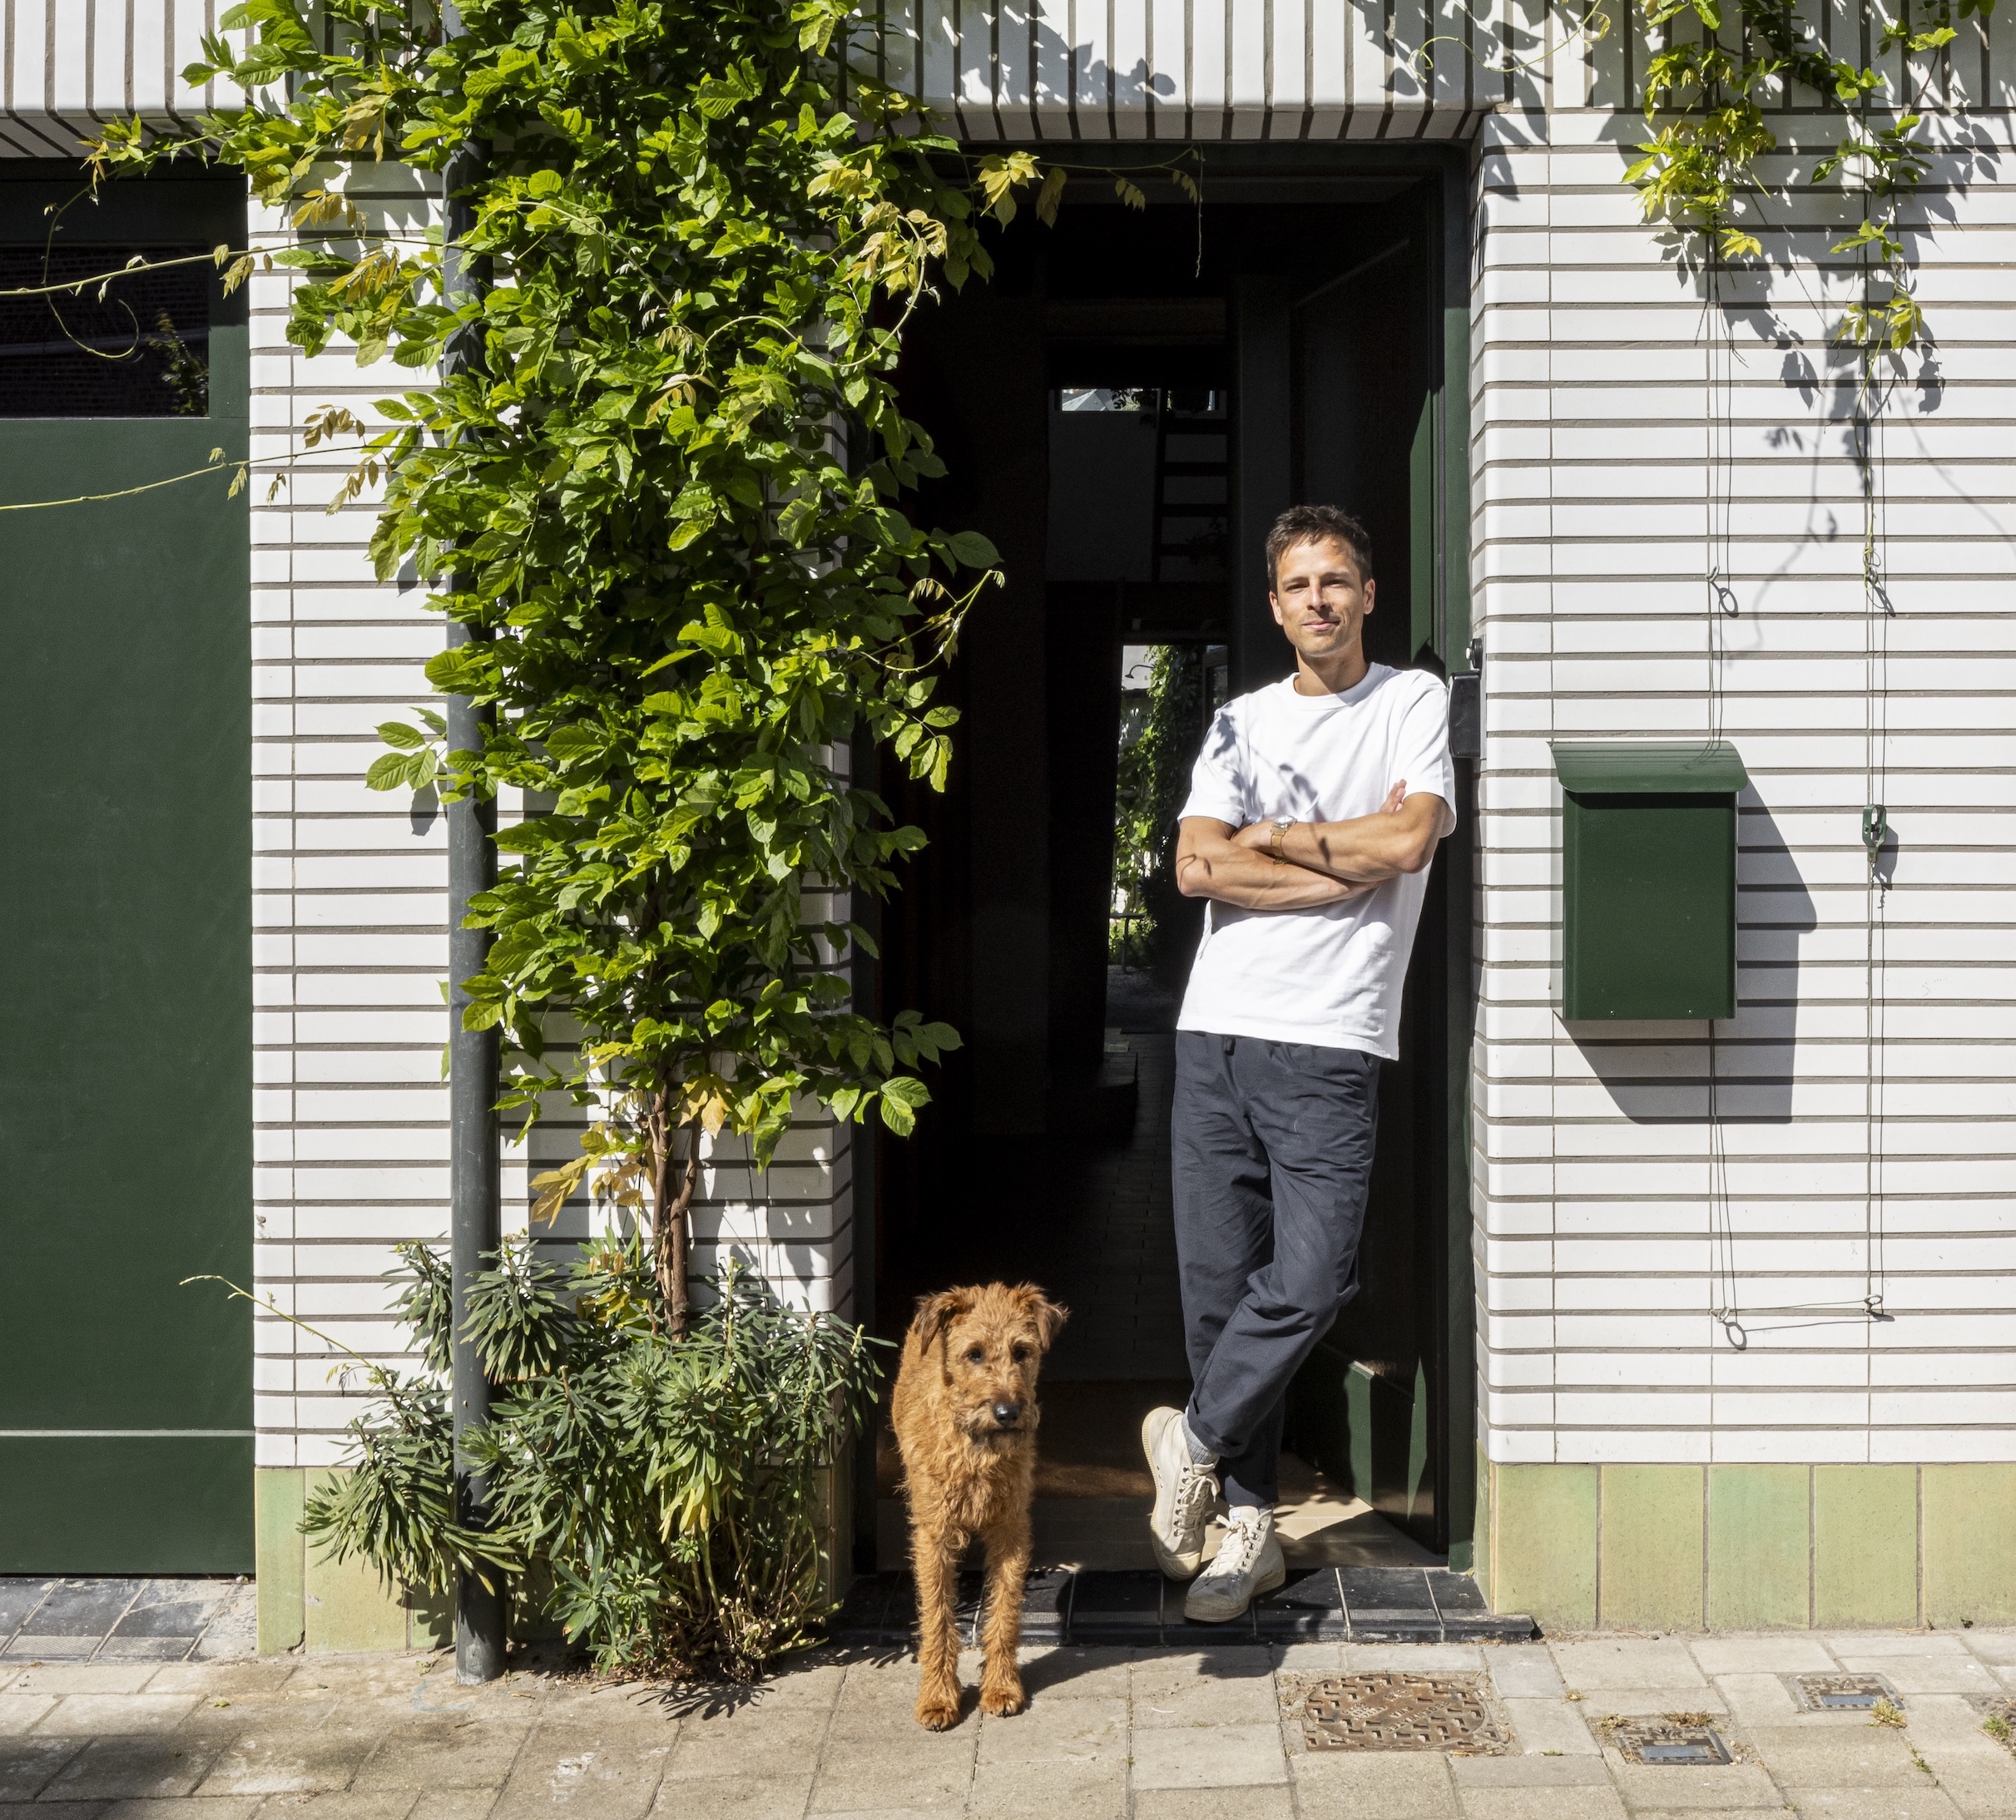
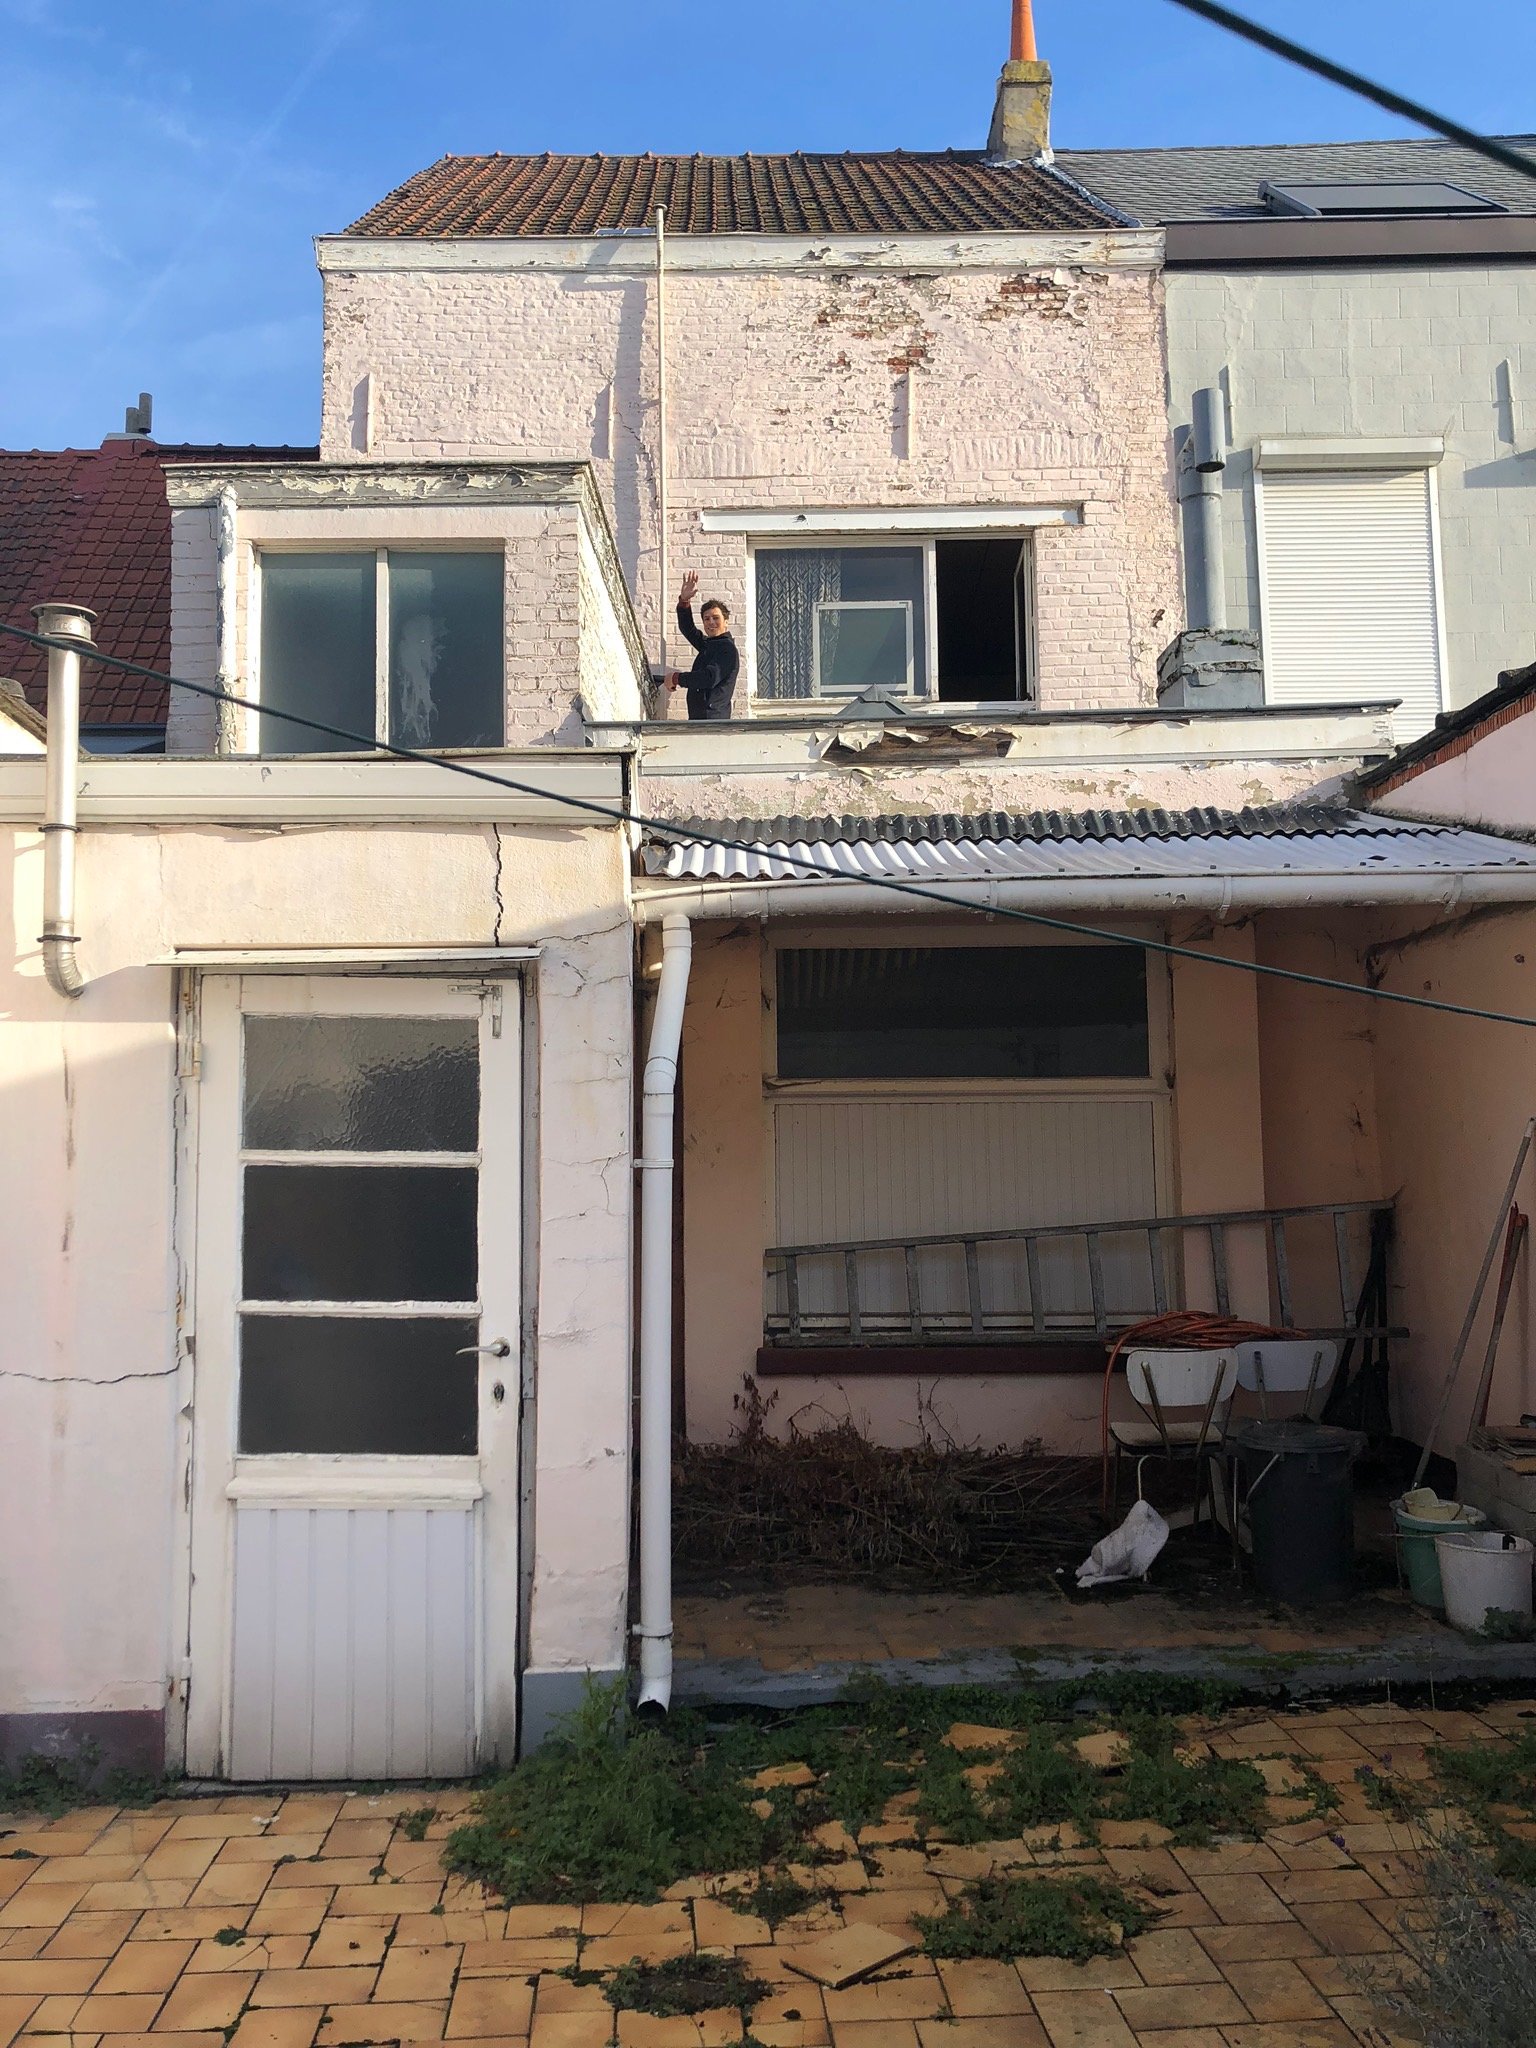
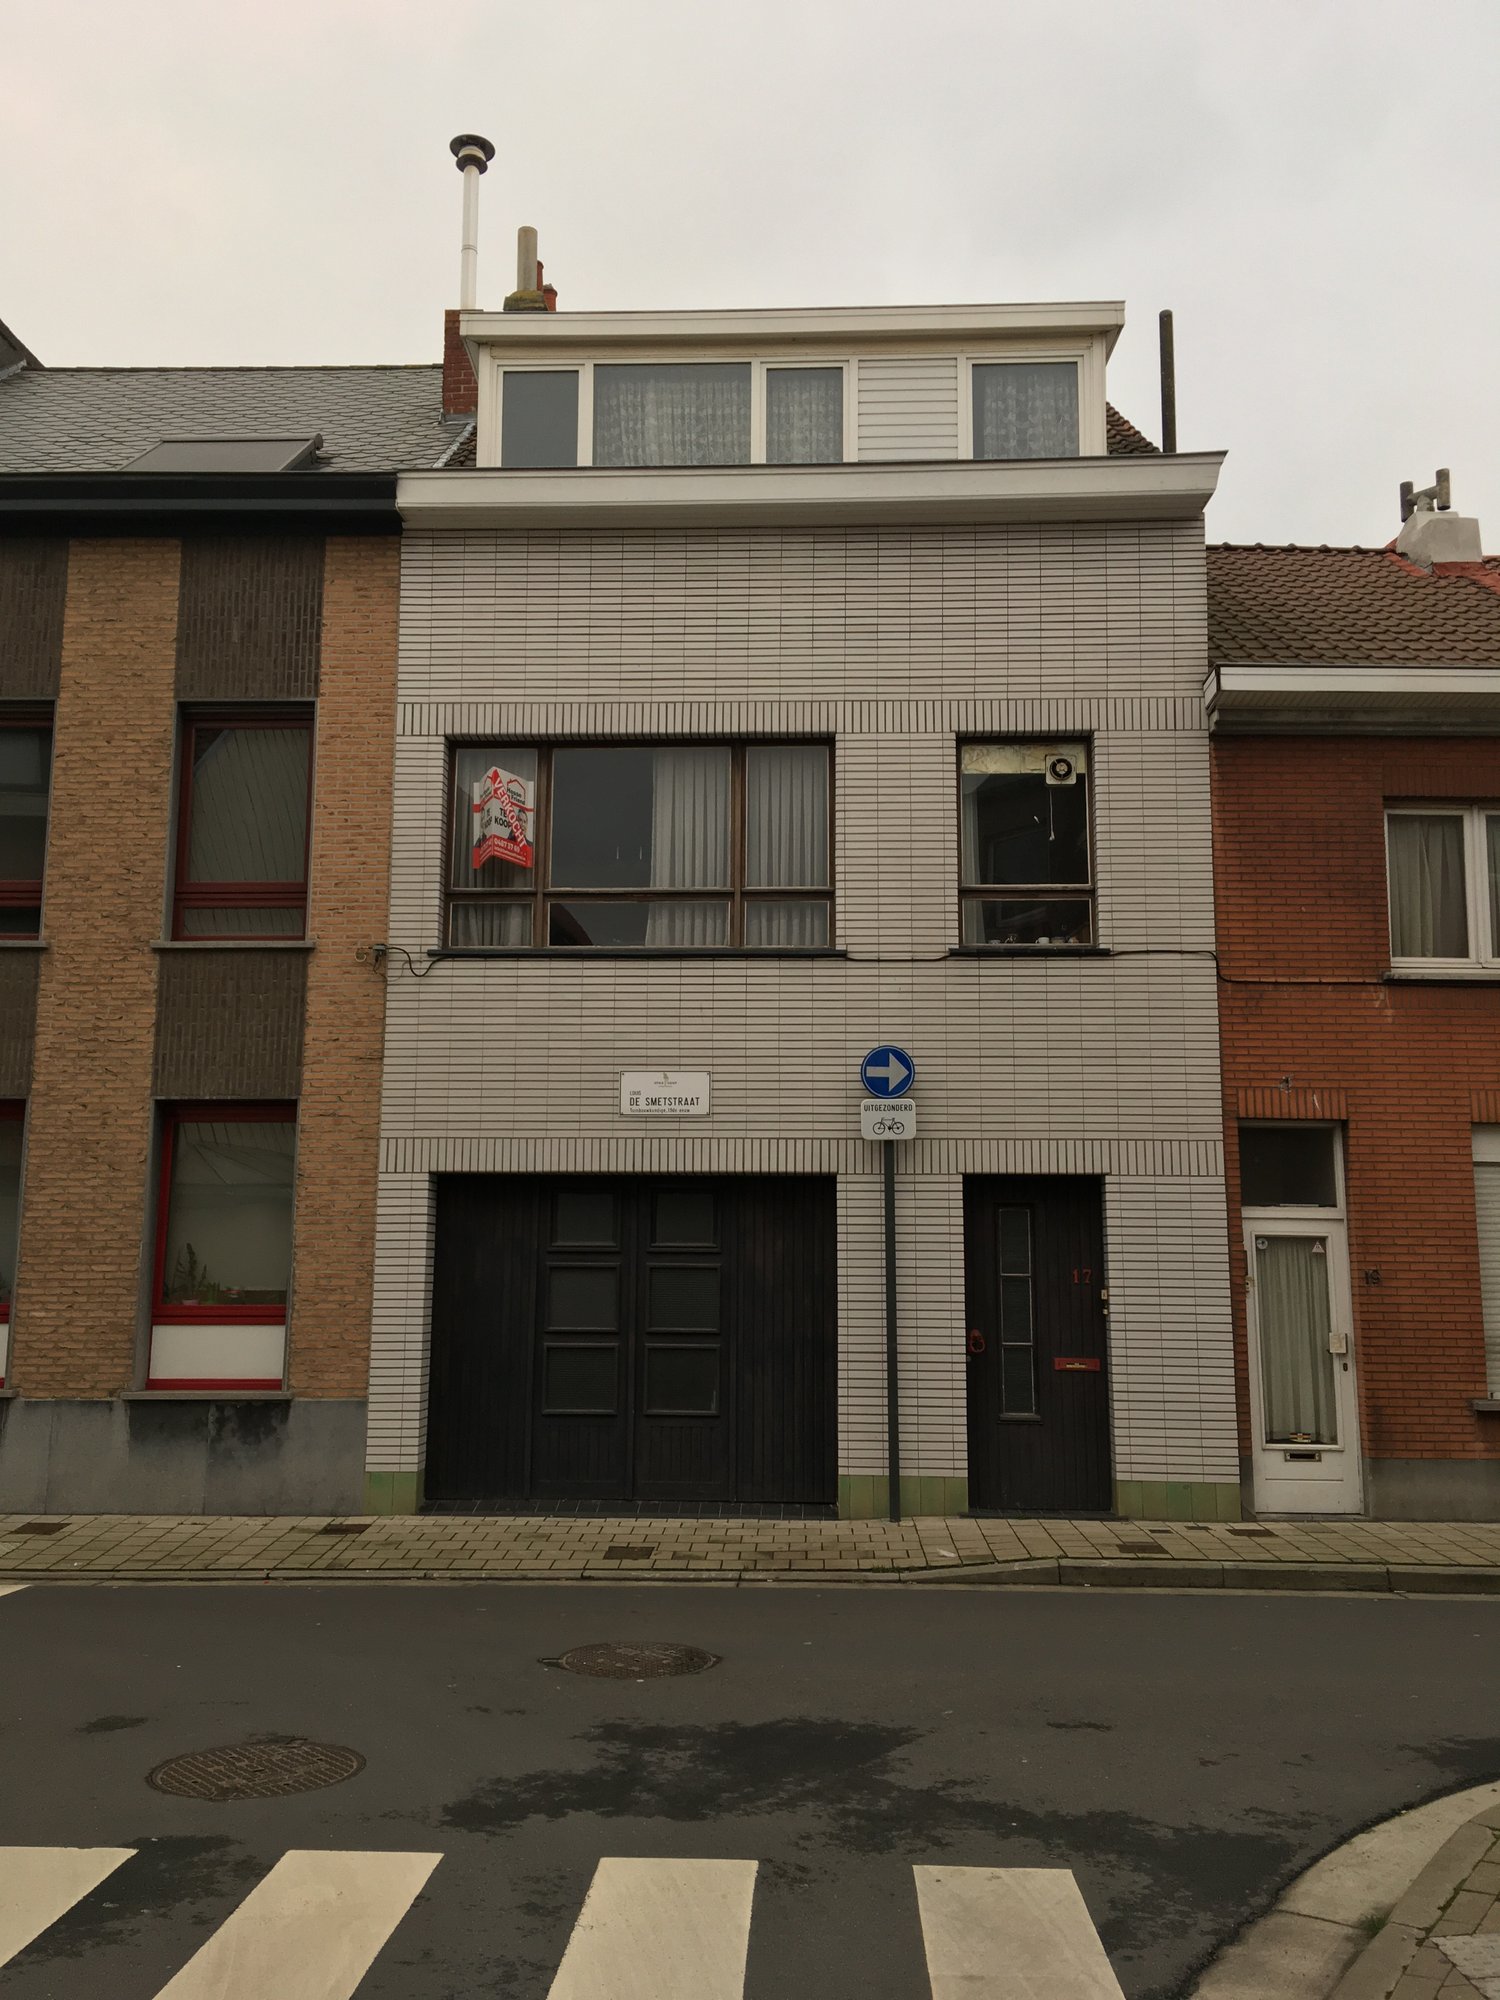
Case Study Highlights: The Ghent Row House
In our featured project in Ghent, the owners took a house with "no nature in sight" and turned it into a masterclass in urban restoration.
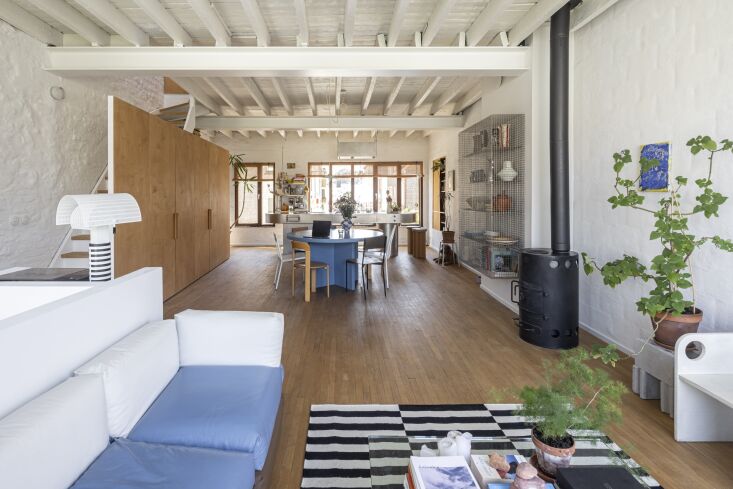
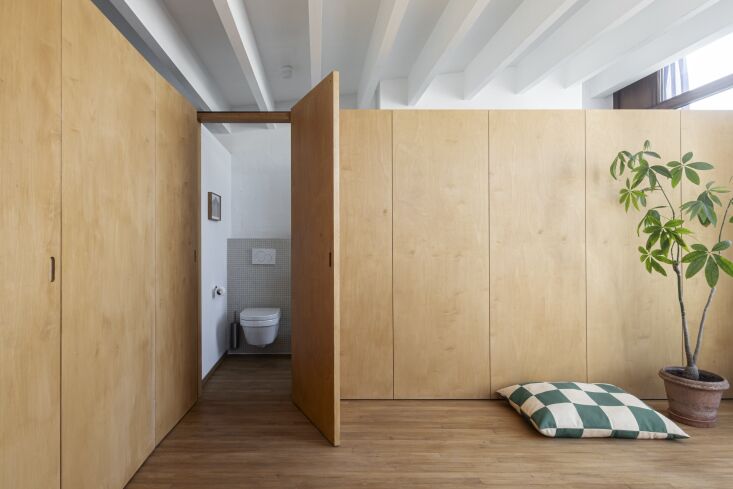
By using birch plywood for internal partitions, they managed to keep the bedrooms private while allowing sunlight from the top-floor skylights to filter down to the lower levels. They replaced a crumbling mansard roof with a modern zinc version that respected the original silhouette but provided far superior insulation.
The attic, once a dark storage space for moldering boxes, was converted using an "invisible door" design. The partitions don't reach the ceiling, creating a sense of infinite space in a home that is only 15 feet wide.
The final touch? A climbing wisteria at the entry. It’s a reminder that even in the densest urban environments, we can find a connection to nature. The project didn't just save a building; it created a vibrant, breathing home for a growing family.

FAQ
Q: Can I remove a wall in my row house myself? A: Never without a structural engineer's report. In row houses, almost every wall running perpendicular to the floor joists is likely load-bearing. Removing one without proper shoring and a steel beam can cause the floors above to sag or, in worst-case scenarios, cause a structural failure of the shared party walls.
Q: Is it worth it to save original plaster walls? A: It depends on the condition. Plaster has superior sound-dampening and fire-resistance properties compared to drywall. If the "keys" (the plaster that oozes between the wood lath) are still intact, I always recommend patching rather than replacing. However, if you are doing a full electrical and plumbing overhaul, removing the plaster often makes the mechanical work much faster and cheaper.
Q: How do I handle moisture in an old brick basement? A: Old brick needs to breathe. Never use "waterproof" paint (like Drylok) on the interior of a historic foundation; it traps water inside the brick and causes it to crumble. The solution is always external: improve your gutters, extend your downspouts, and ensure the soil slopes away from the foundation.
Ready to start your own restoration journey? Whether you're repointing your first brick or planning a full-scale gut renovation, remember that you are a steward of history. Take it one step at a time, respect the materials, and don't be afraid to let the light in.