If you’ve ever lived in an urban apartment with a toddler, you know the "craft table crawl." It’s that precarious dance we do around oversized plastic activity desks, tripping over rogue crayons and stubbing toes on tiny chairs that seem to take up half the living room. As much as we want to foster our children's creativity, traditional play furniture often feels like an enemy to our floor plan.
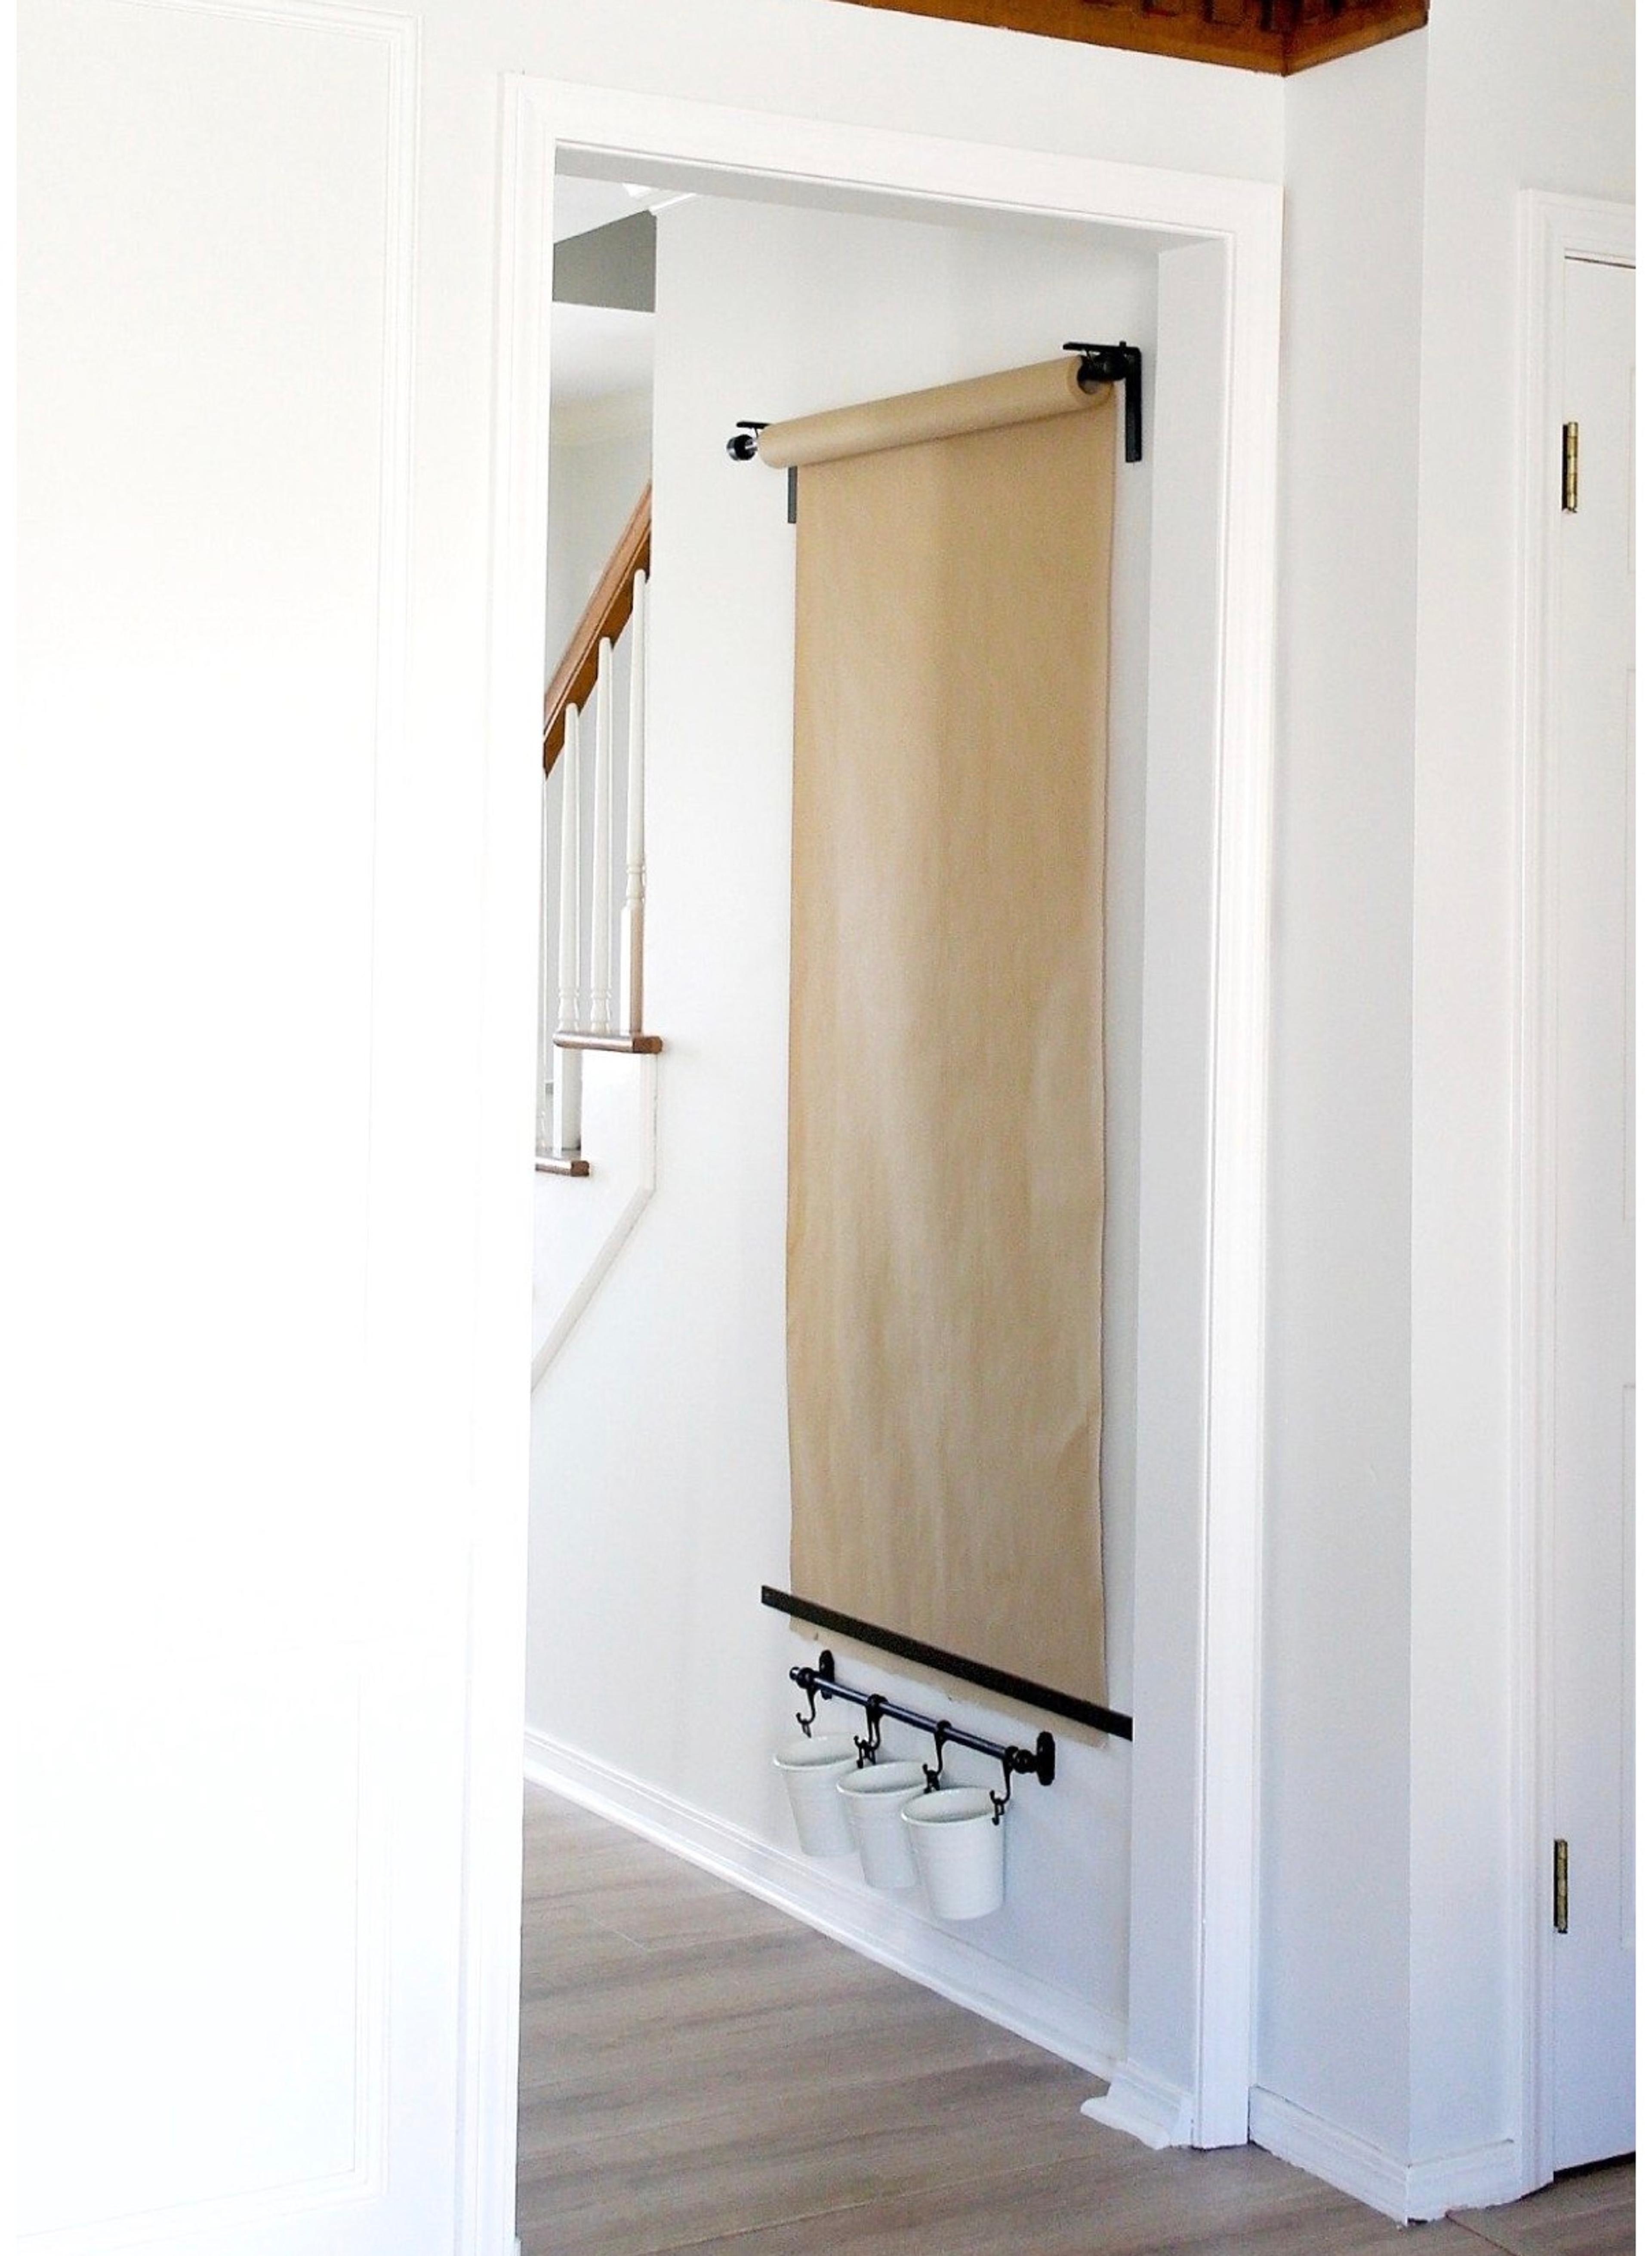
The good news? You don’t need a dedicated playroom or a massive budget to give your little Picasso a professional-grade studio. The secret lies in a "Genius $20 Art Corner Hack" that utilizes the most underused real estate in your home: the vertical space on your walls. By mounting an IKEA FLISAT wall storage shelf upside down and pairing it with a MÅLA paper roll, you can create a sleek, space-saving drawing station that costs roughly 75% less than a standard children's desk.
Why Every Small Home Needs This Hack
In the world of home improvement, we often talk about "reclaiming" space. Usually, that involves a sledgehammer and a permit. However, this DIY art station allows you to reclaim up to 6 square feet of floor space in a single afternoon—no contractor required. In a small urban apartment, 6 square feet is the difference between having room for a yoga mat or feeling like your furniture is closing in on you.
Beyond the physical space, there’s a psychological benefit to the vertical art station. We like to call it the "Creative Charging Station." By having a permanent, accessible spot for drawing that doesn't require "setting up" a table or clearing away dinner, kids are more likely to engage in spontaneous creative play.
The Financial Breakdown: DIY vs. Store-Bought
| Feature | Pre-Built Activity Desk | The $20 DIY Hack |
|---|---|---|
| Average Cost | $80 - $150 | ~$20 - $25 |
| Floor Space Required | 4-8 Square Feet | 0 Square Feet |
| Longevity | Outgrown by age 5-6 | Adjusts height as they grow |
| Ease of Cleaning | Crumb trap in leg joints | Easy-wipe wall surface |
This project isn't just about saving money; it’s about making your home serve you and your family’s needs without sacrificing the aesthetic of your living space.
The $20 Shopping List: What You Need
Before we head to the hardware store (or the IKEA marketplace), let's get our list in order. The beauty of this hack is its simplicity. You only need two "hero" items and some basic hardware to make it happen.
- The Hero Item: IKEA FLISAT Wall Storage Shelf. This is the backbone of the project. It’s made of solid pine, which is sturdy and easy to customize with paint or stain.
- The Canvas: IKEA MÅLA Paper Roll. This roll offers 98 feet of drawing space. It fits perfectly onto the FLISAT bar when assembled correctly.
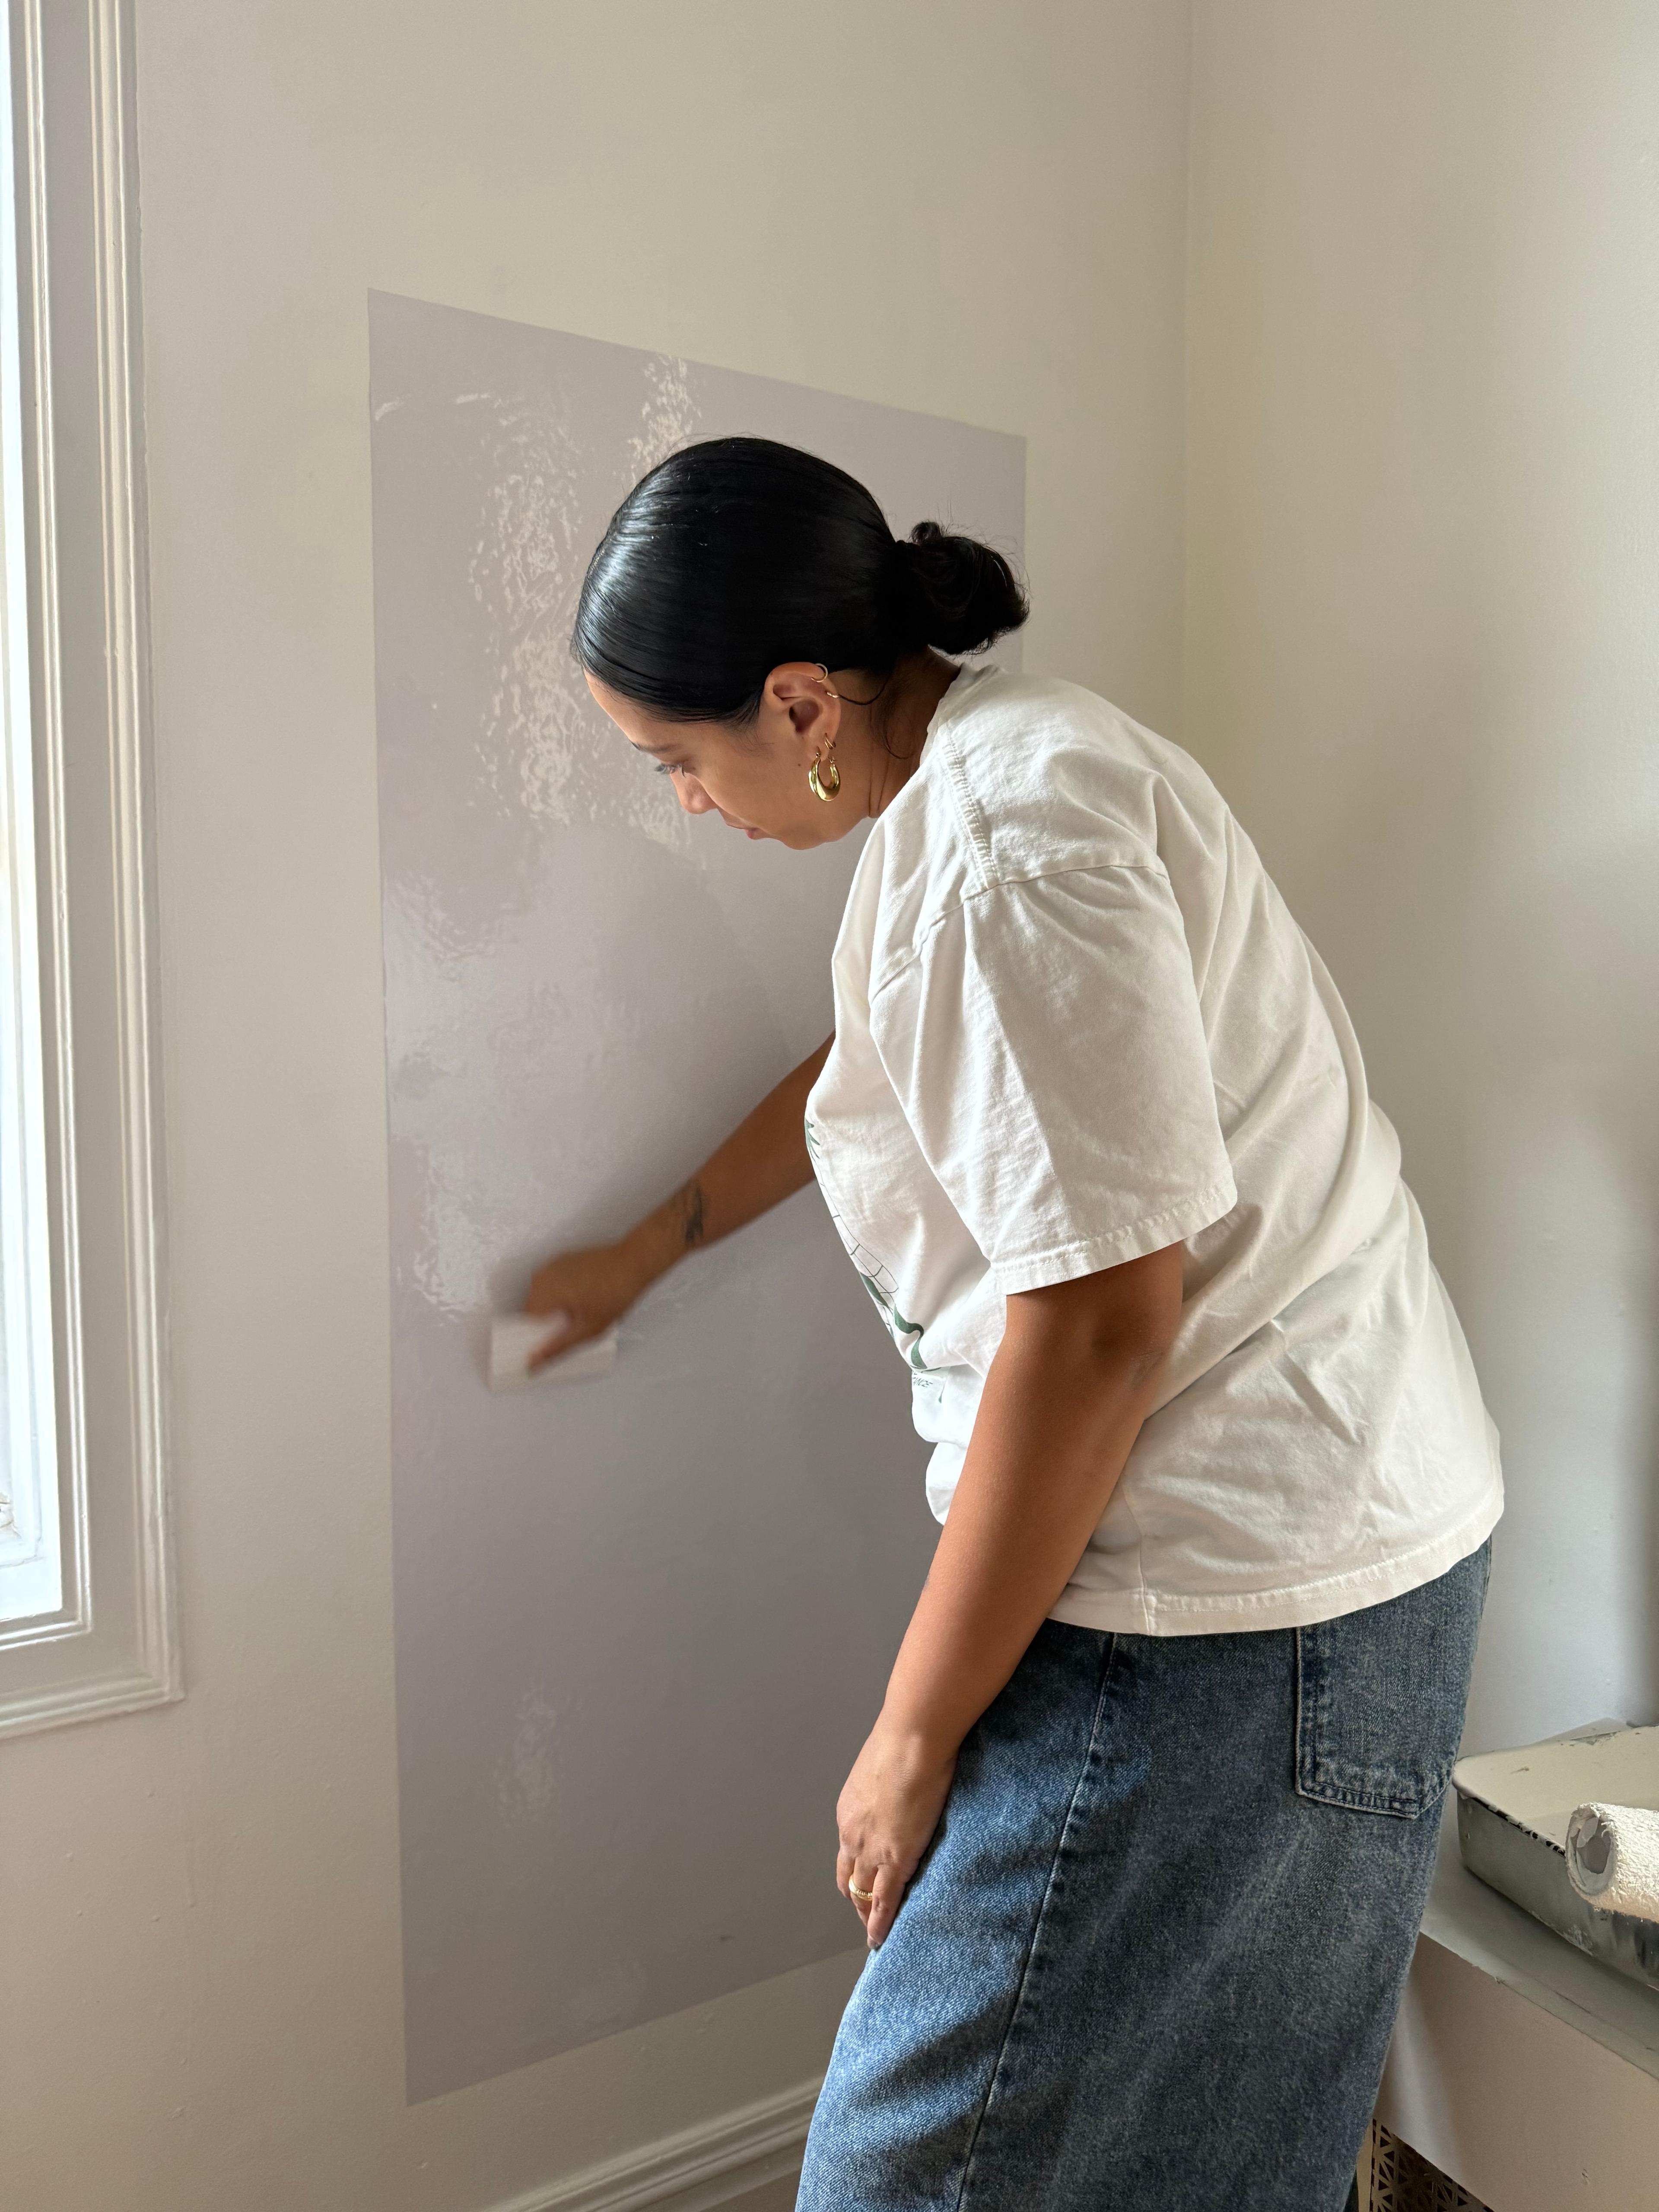
- Wall Protection: I highly recommend a magnetic decal or a vinyl sheet to place behind the paper. This acts as a "buffer zone" for those enthusiastic scribbles that might wander off the paper.
- Hardware: Don't rely on the tiny screws that might come in the box. Depending on your wall type (drywall, plaster, or brick), you’ll need appropriate wall anchors and screws. Safety is our priority—we want this shelf to stay put even if a toddler decides to give it a little tug.
Pro-Tip: If you can't get to an IKEA, any wall-mounted spice rack with a front bar (like those found on Amazon or at Target) can work, provided the internal width is at least 18.5 inches to accommodate the standard paper roll.
Step-by-Step: Building Your Vertical Art Station
Mounting a shelf seems straightforward, but there is a specific trick to making this work for a paper roll. Follow these steps to ensure a smooth "dispensing" experience for your little artist.
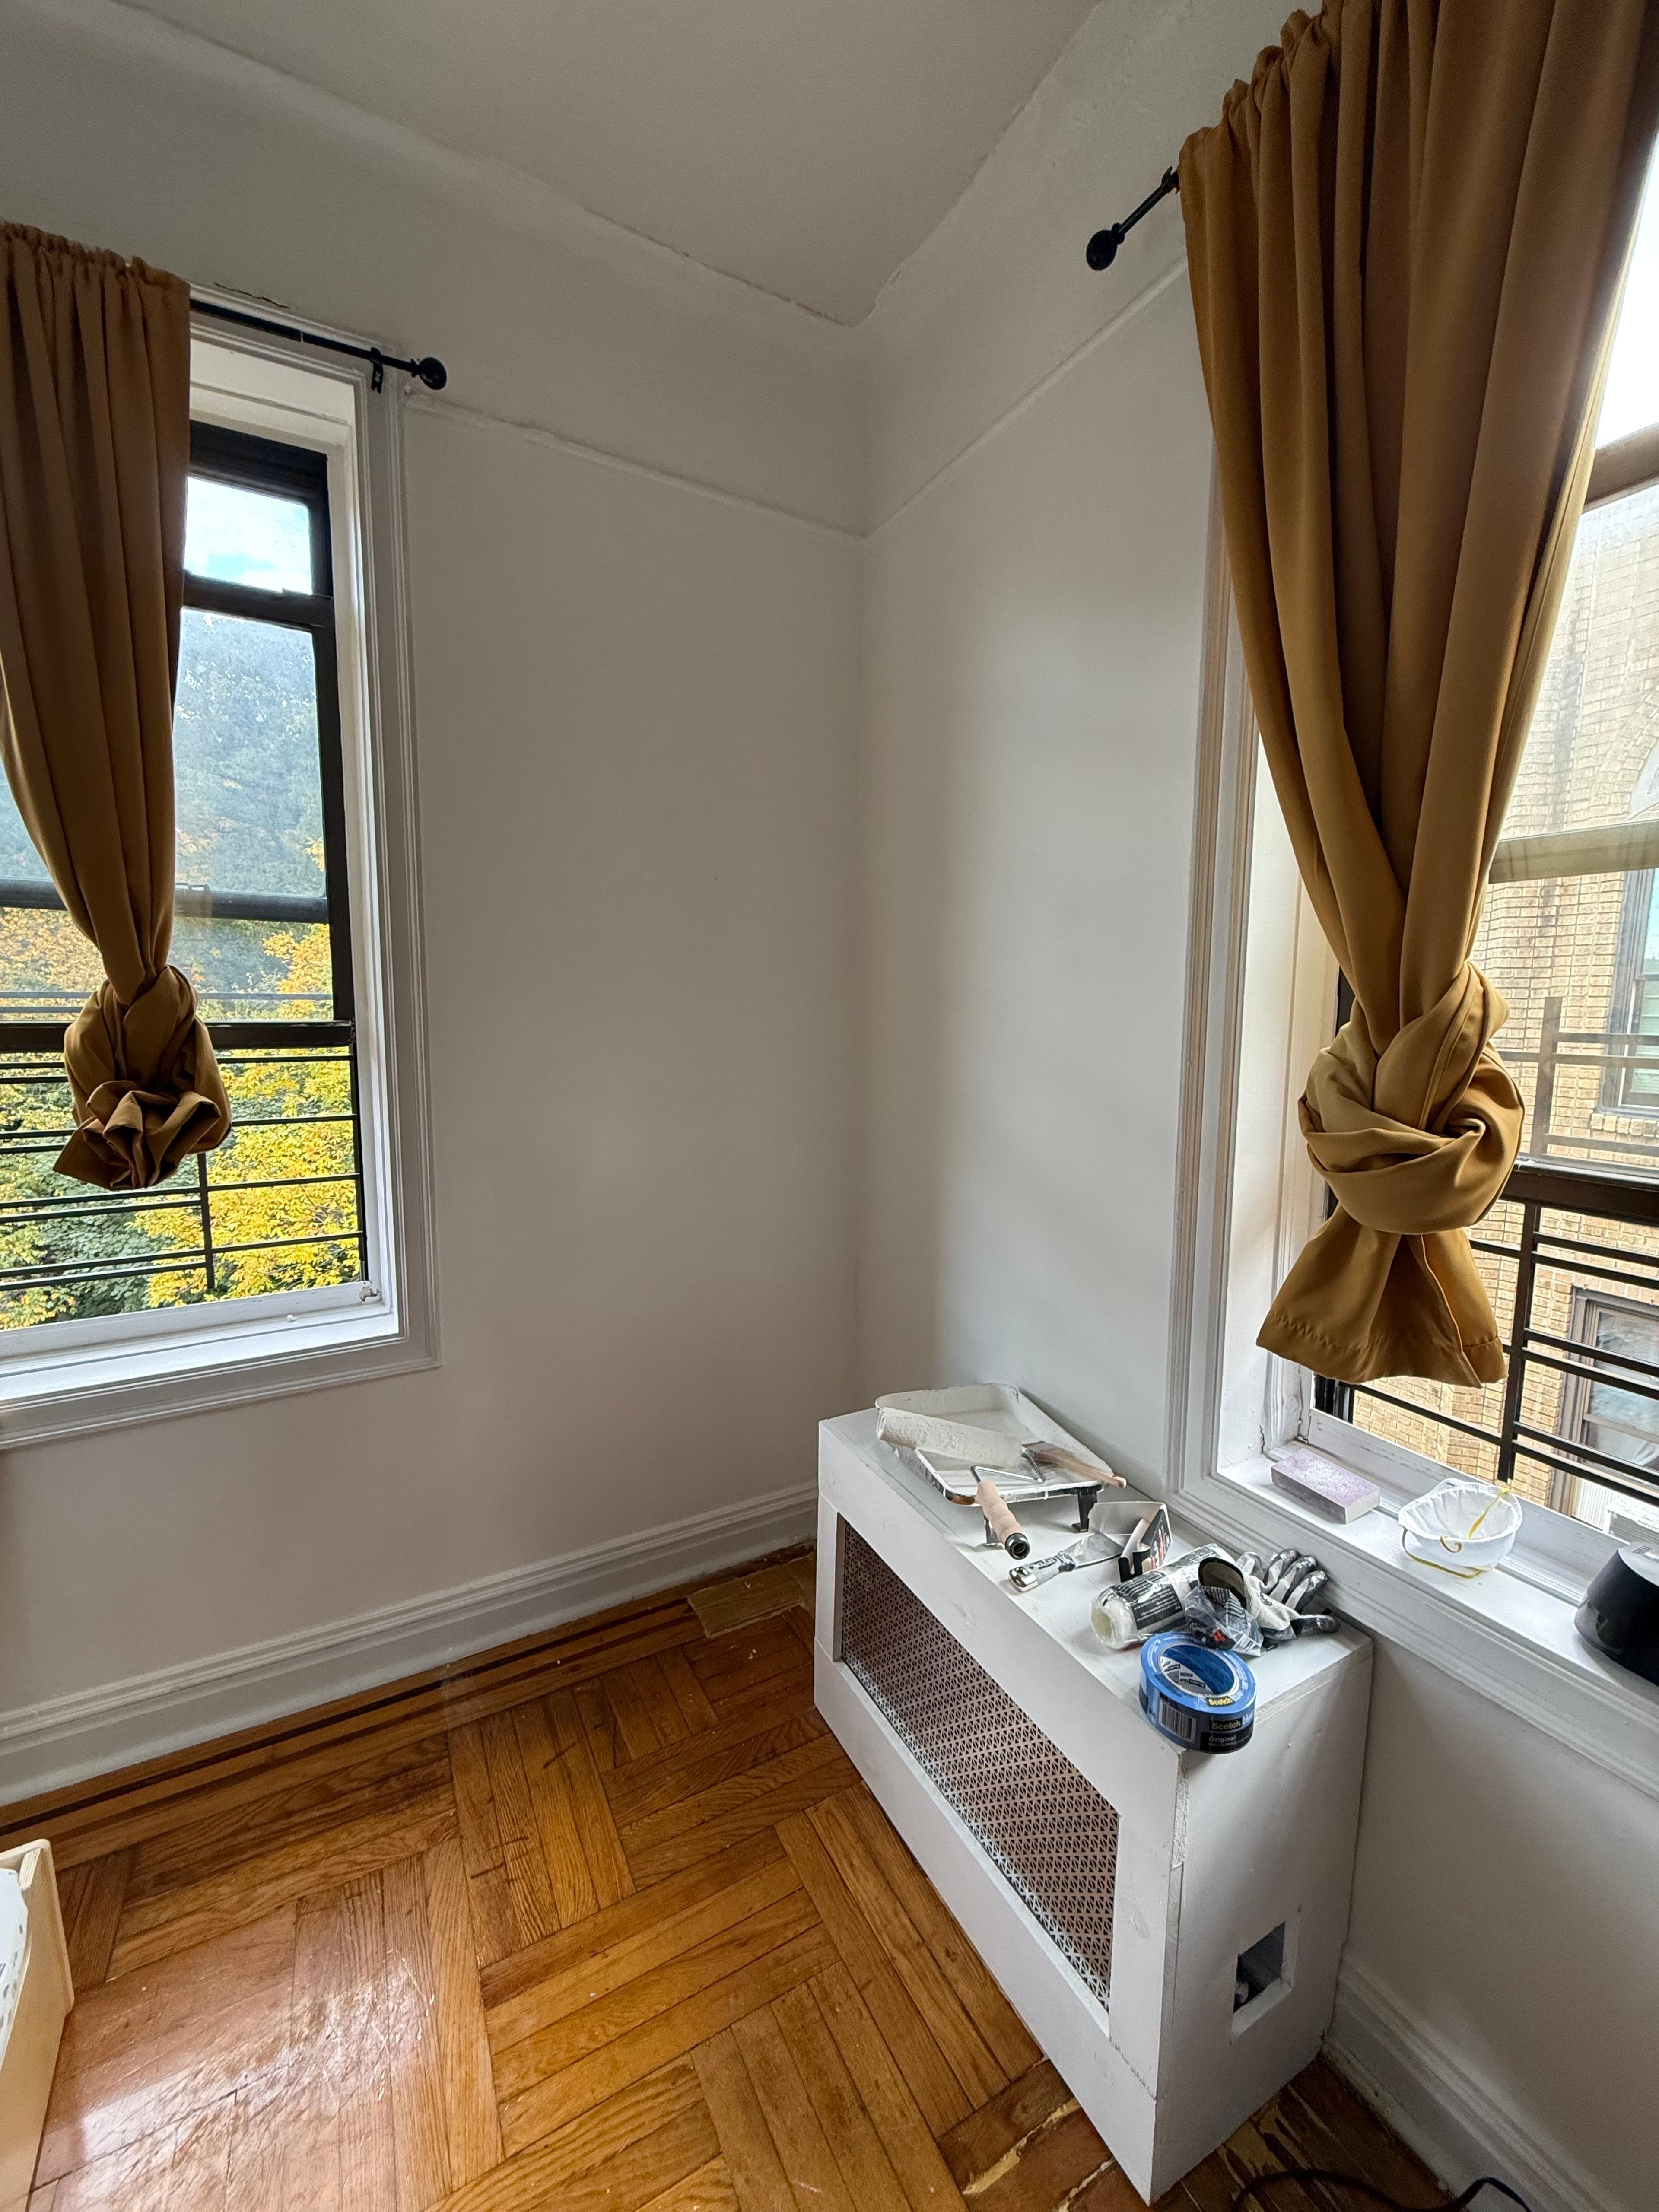
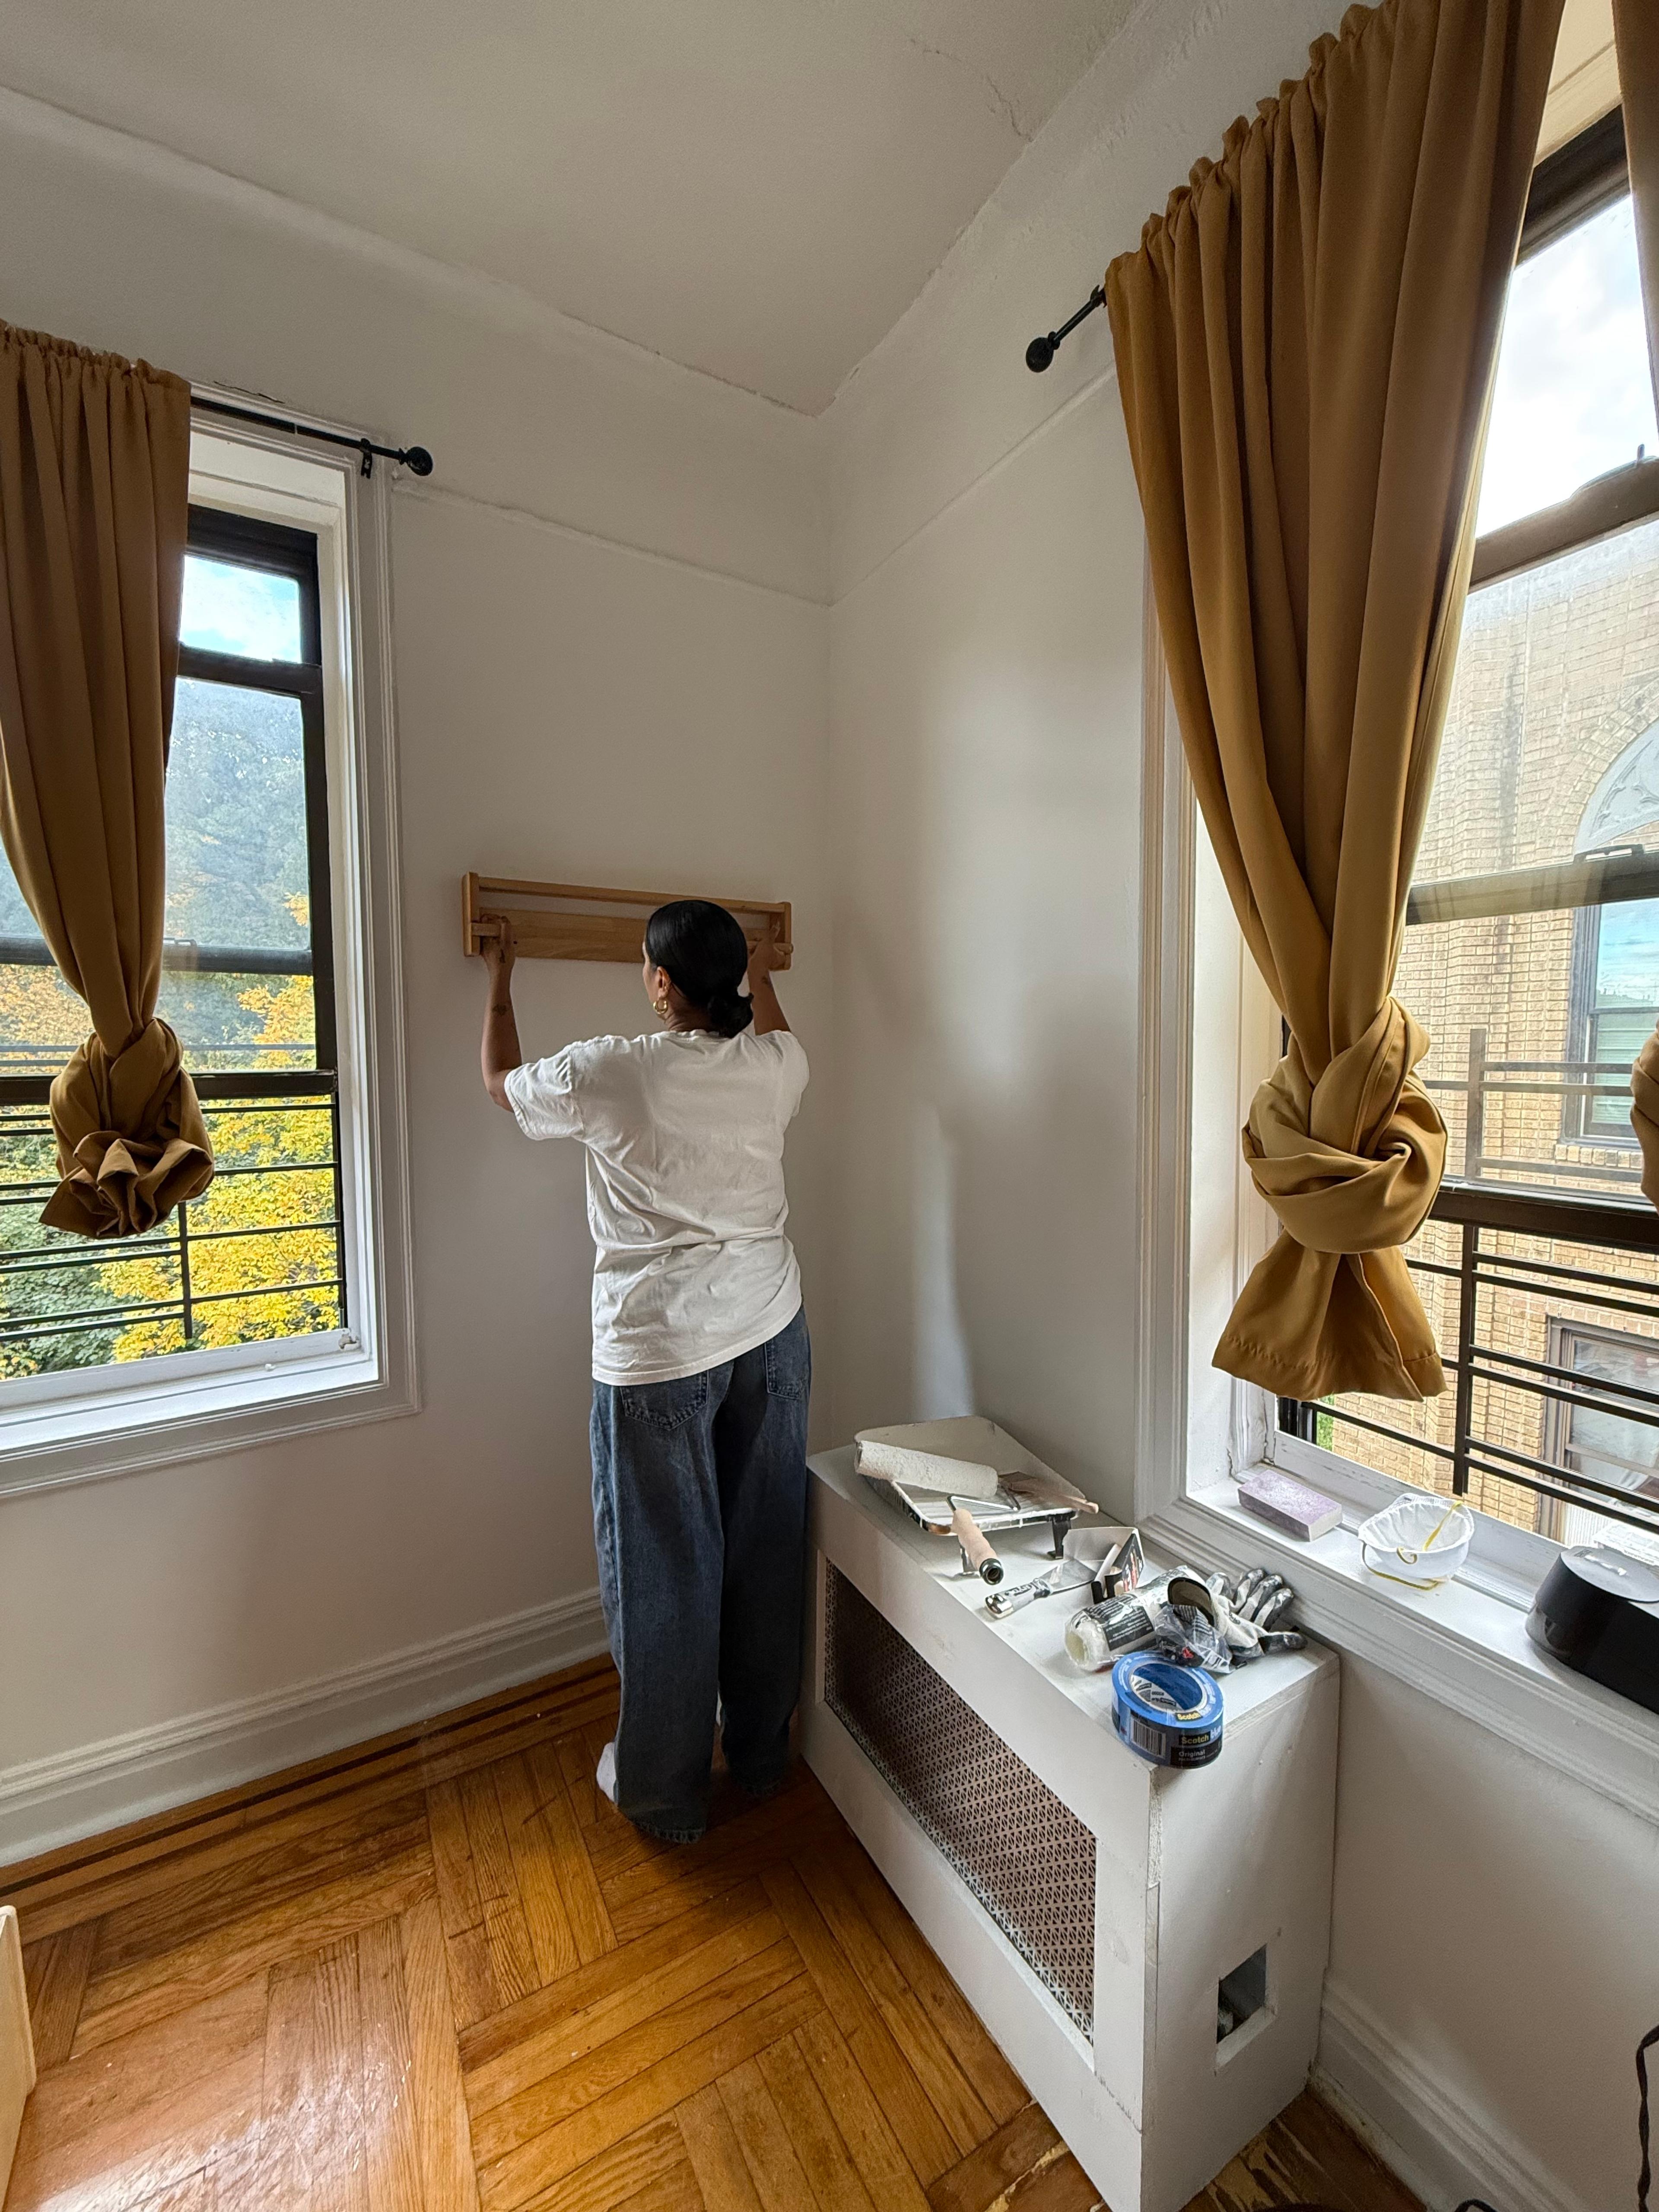
1. Find the Sweet Spot
Location is everything. Look for a slice of wall that is easily accessible but out of the main "traffic lane" of your home. A hallway corner or the side of a wardrobe often works well. Use a pencil to mark the height. For a toddler, you generally want the paper roll to be about 30 to 36 inches off the floor, allowing the paper to pull down to their standing or kneeling height.
2. The Upside-Down Assembly
This is where the "hack" happens. When you assemble the IKEA FLISAT shelf, mount it upside down.
- In its intended orientation, the bar acts as a rail to keep books from falling off.
- When flipped, the bar becomes a spindle that can hold the weight of the paper roll while allowing it to spin freely.
3. Secure the Shelf
Using a level (or a leveling app on your phone), mark your screw holes. If you are mounting into drywall without hitting a stud, use toggle bolts or heavy-duty anchors. We want this to be "toddler-proof." Once the anchors are in, screw the shelf into place firmly.
4. Load the Paper
Slide the MÅLA paper roll onto the bar. Pull the paper down until it reaches the desired length. To keep the paper from curling up at the bottom, you can add a small magnetic strip or a second, smaller "rail" made from a wooden dowel at the bottom of the station.
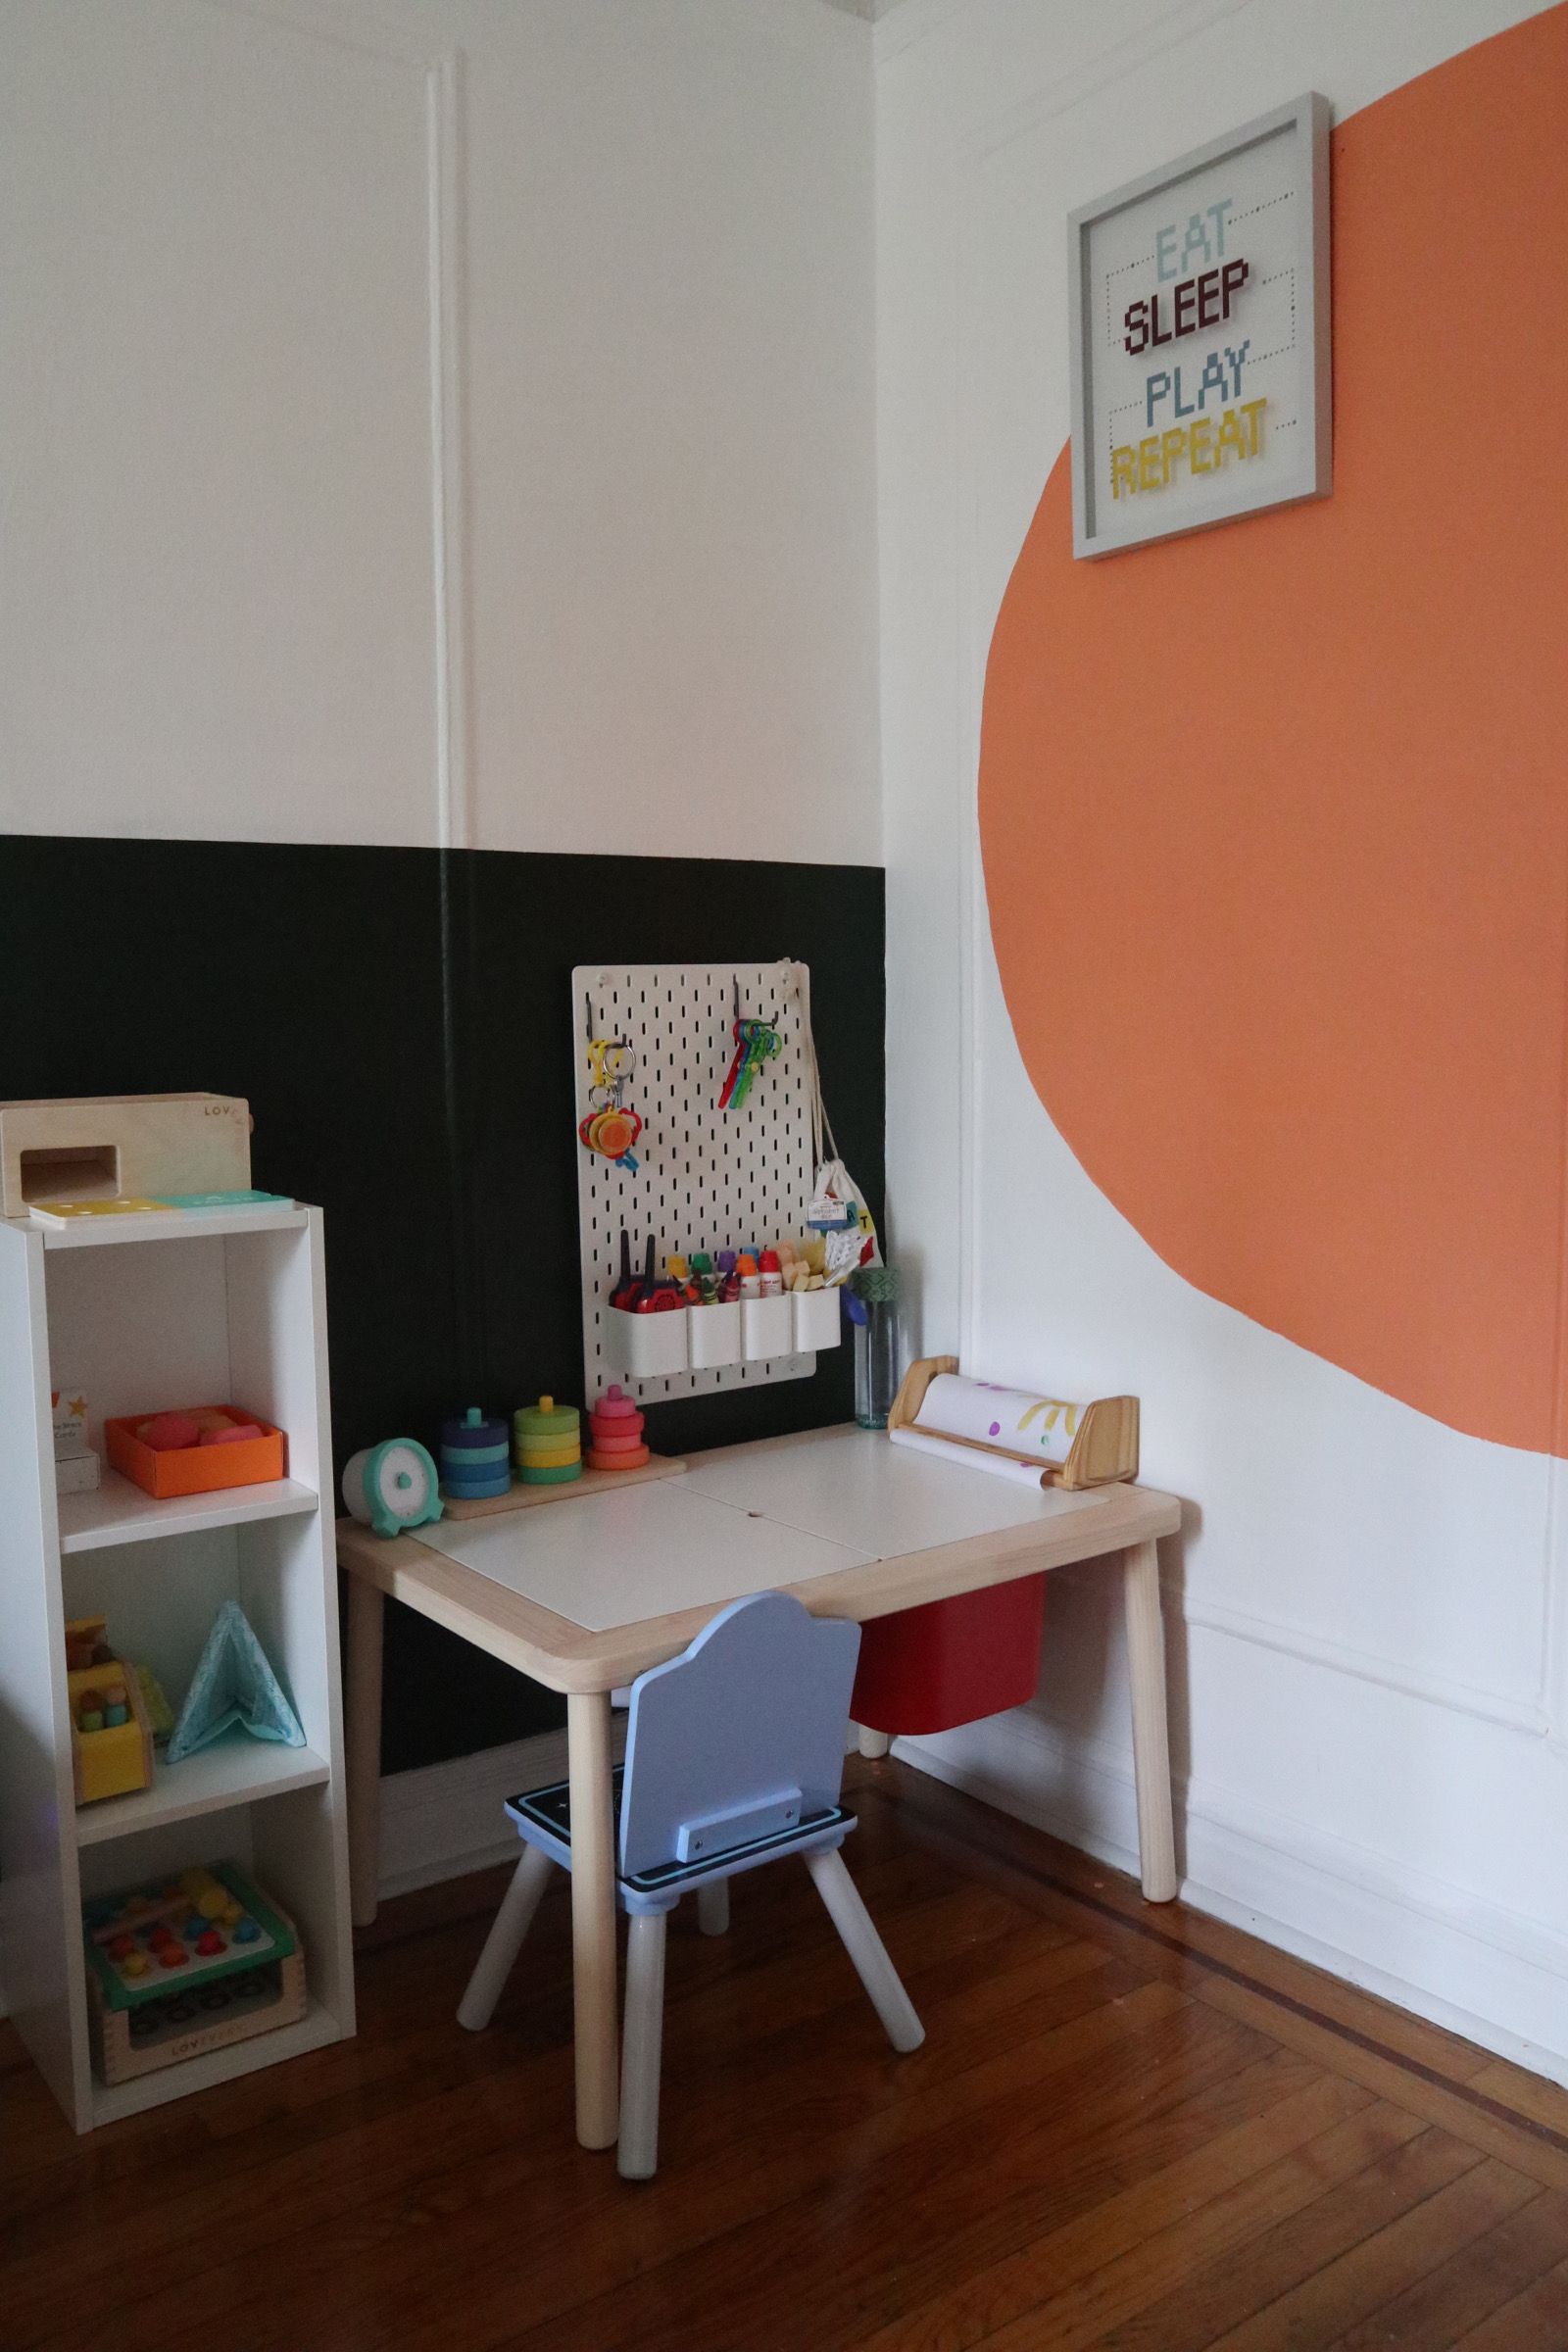
Level Up: Adding Organization with SKÅDIS
While the $20 hack provides the canvas, every artist needs their tools. To keep your floors truly clear, consider integrating the IKEA SKÅDIS Pegboard system next to or above your art station.
We love using the small white baskets and clips to hold crayons, markers, and watercolor palettes. By keeping the supplies off the floor and in wall-mounted bins, you eliminate the "marker-on-the-carpet" risk and make cleanup a breeze.
Clara’s Organization Rule: Use the "Cantaloupe Rule" for accessories. If an item or a container of items is smaller than a cantaloupe, it belongs in a bin or a basket, not loose on the shelf. This prevents the art station from looking cluttered and keeps small parts away from younger siblings.
Maintenance and Protection
The biggest concern parents have with a wall-mounted art station is, naturally, the wall itself. How do we keep the "art" on the paper and off the paint?
- The Buffer Zone: As mentioned earlier, apply a sheet of removable vinyl or a "whiteboard decal" to the wall before you mount the shelf. This covers the area directly behind and below where the paper hangs. If a marker goes off-canvas, it hits the vinyl, which wipes clean in seconds.
- The "Paper Tear" Technique: Teach your child to use a ruler or a flat wooden edge to tear the paper when they are finished. This prevents the "unending roll" of paper that can quickly cover a living room floor.
- Safe Supplies: Stick to washable markers and crayons. Even with the best protection, accidents happen!
FAQ
Q: Is the IKEA FLISAT shelf strong enough to hold a heavy paper roll? A: Absolutely. The shelf is made of solid wood. The key isn't the shelf's strength, but the mounting. As long as you use the correct wall anchors for your specific wall type, it will easily handle the weight of the paper and the pressure of a child drawing.
Q: My kids are older; is this still useful? A: Yes! This hack evolves with your family. For older kids or even adults, this becomes a vertical "To-Do" list or a family grocery list station in the kitchen. You simply mount it higher as they grow.
Q: What if I don't have an IKEA nearby? A: You can replicate this using any wall-mounted shelf with a "guard rail." Look for "nursery book ledges" or "floating spice racks" on Amazon. Just ensure the width of the spindle is at least 19 inches to fit standard craft paper rolls.
Start Your Small Space Transformation
Creating a home that works for your family doesn't require a massive renovation or a six-figure salary. It requires looking at your space differently. By moving your child's creative zone to the wall, you’re not just saving $100 on a desk—you’re gifting your family the room to breathe, play, and move freely in your home.
Grab a level, find a $20 bill, and head to the store. Your floor space (and your toes) will thank you.